
Hello again.
Today, I am excited to share a recent project with you: a series of cards created entirely with washi tape. I challenged myself to craft without buying any new supplies during Lent. Instead, I am working with craft supplies I own, and the first of these is washi tape. The cards made will be sent to friends or donated to charity.
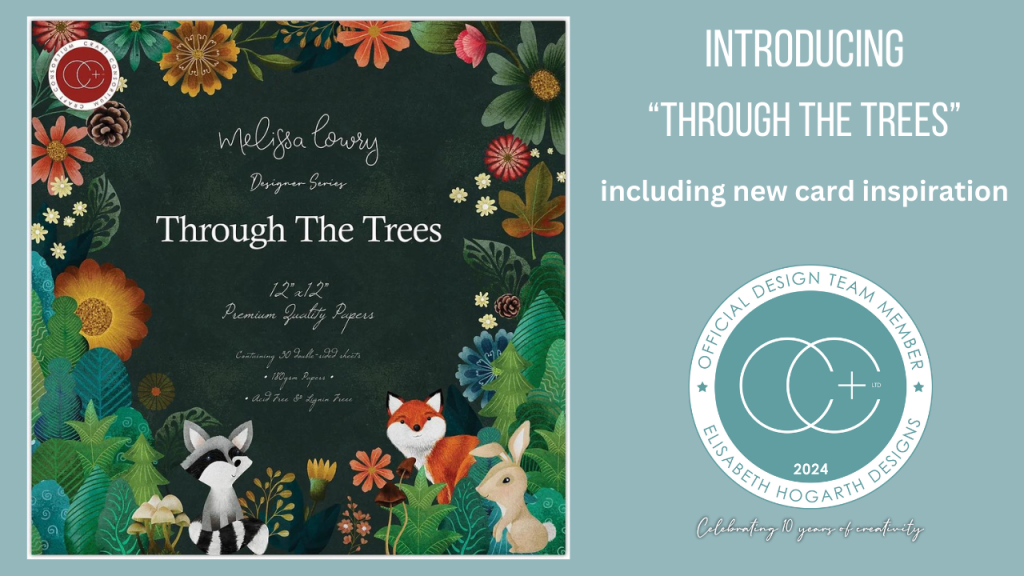
Washi tape has its roots in traditional Japanese papermaking techniques dating back to the 8th century when artisans crafted paper from natural fibres like bamboo, rice, and mulberry bark. Today, modern washi tape is manufactured using a combination of these natural fibres, resulting in a lightweight yet durable tape known for its vibrant colors, intricate patterns, and easy tearability. This means you can work with washi in a variety of ways. Let me show you a few ideas:
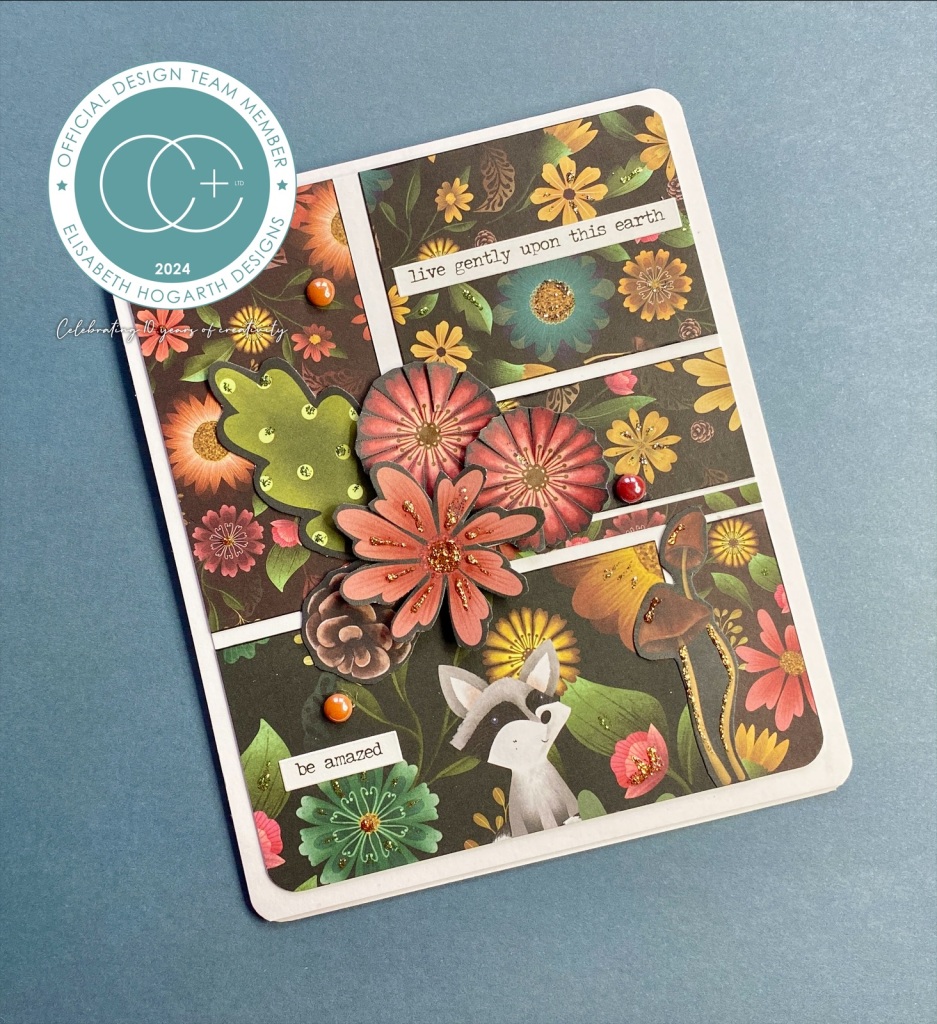
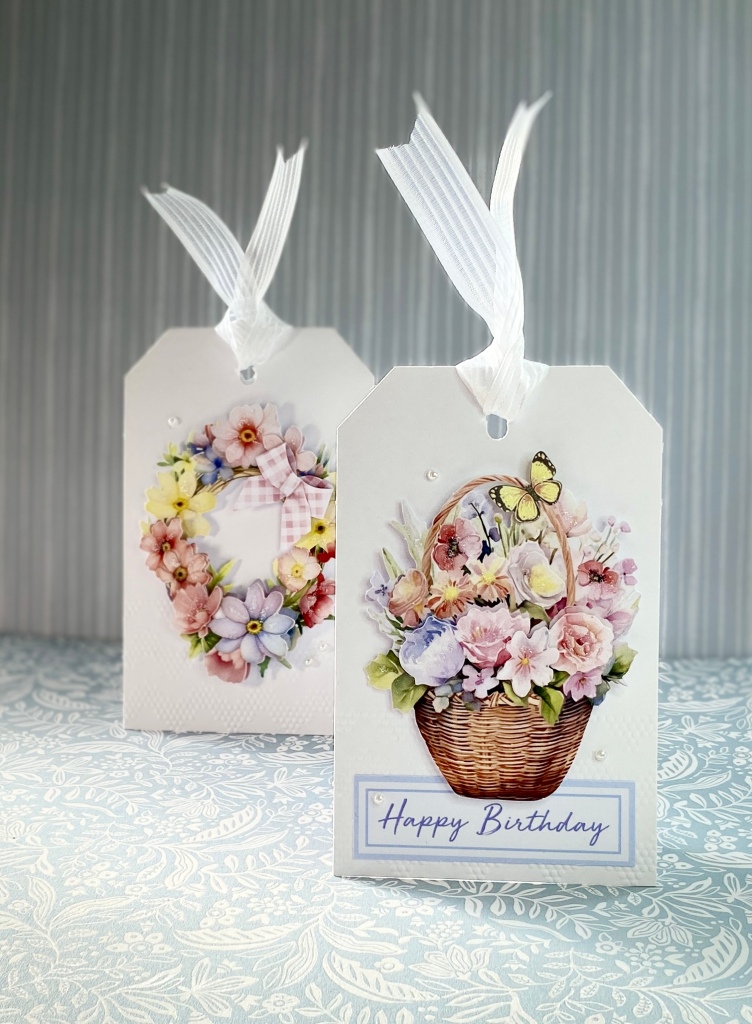
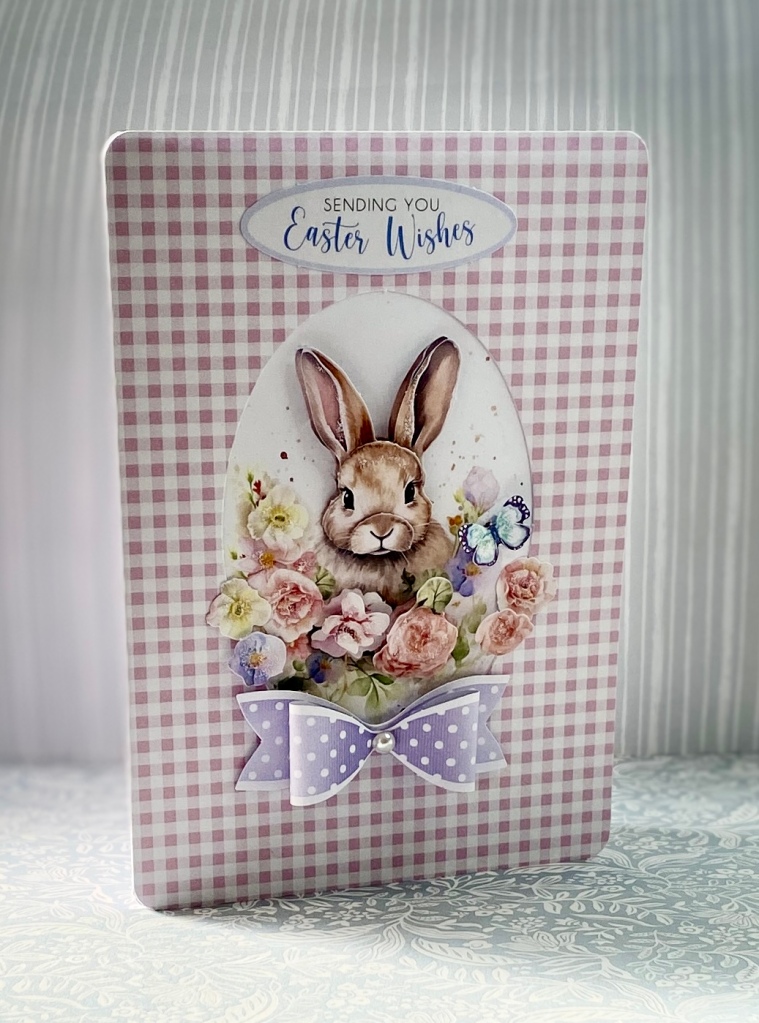
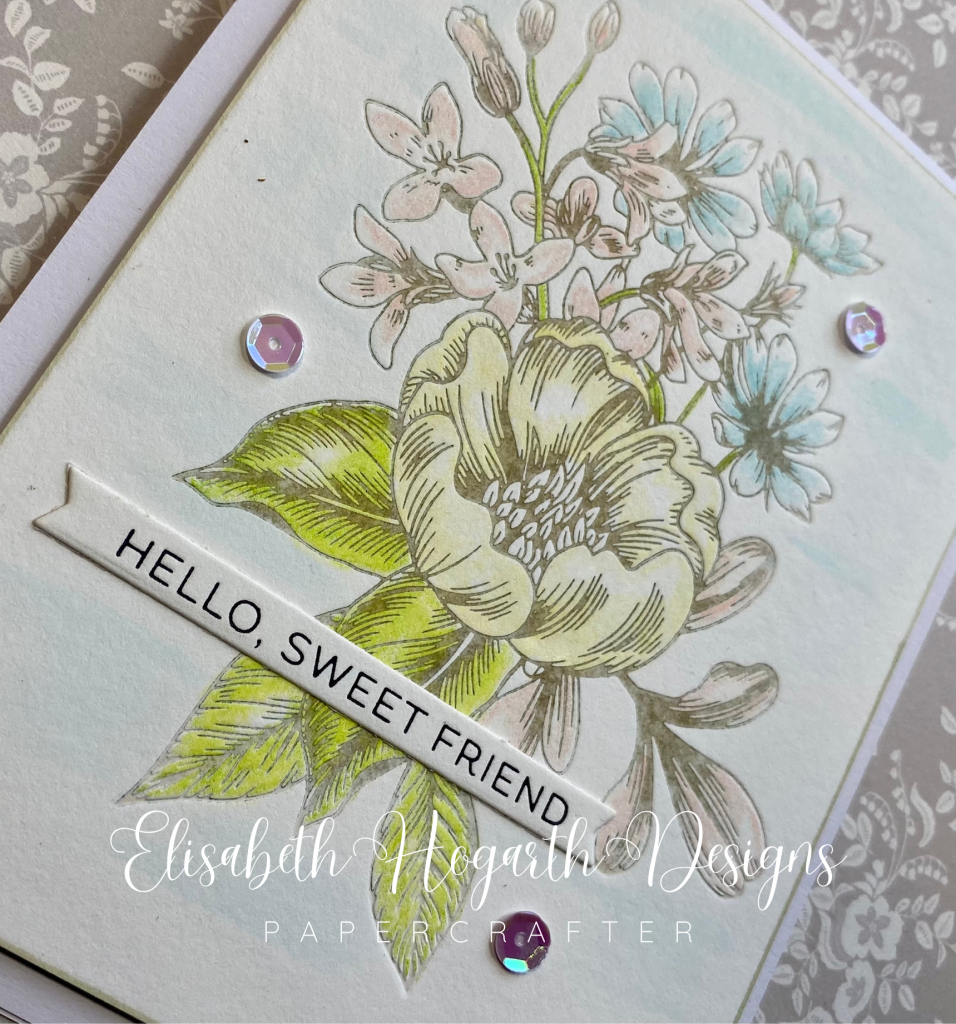
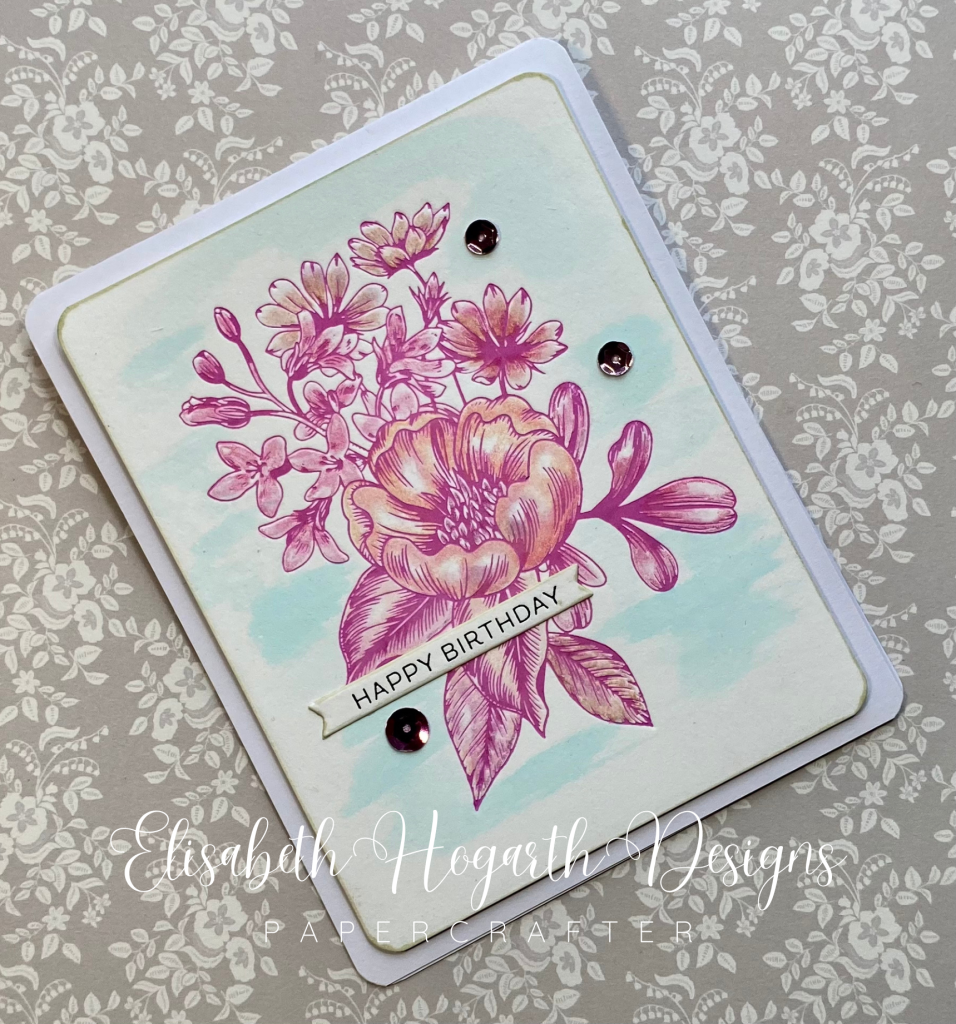
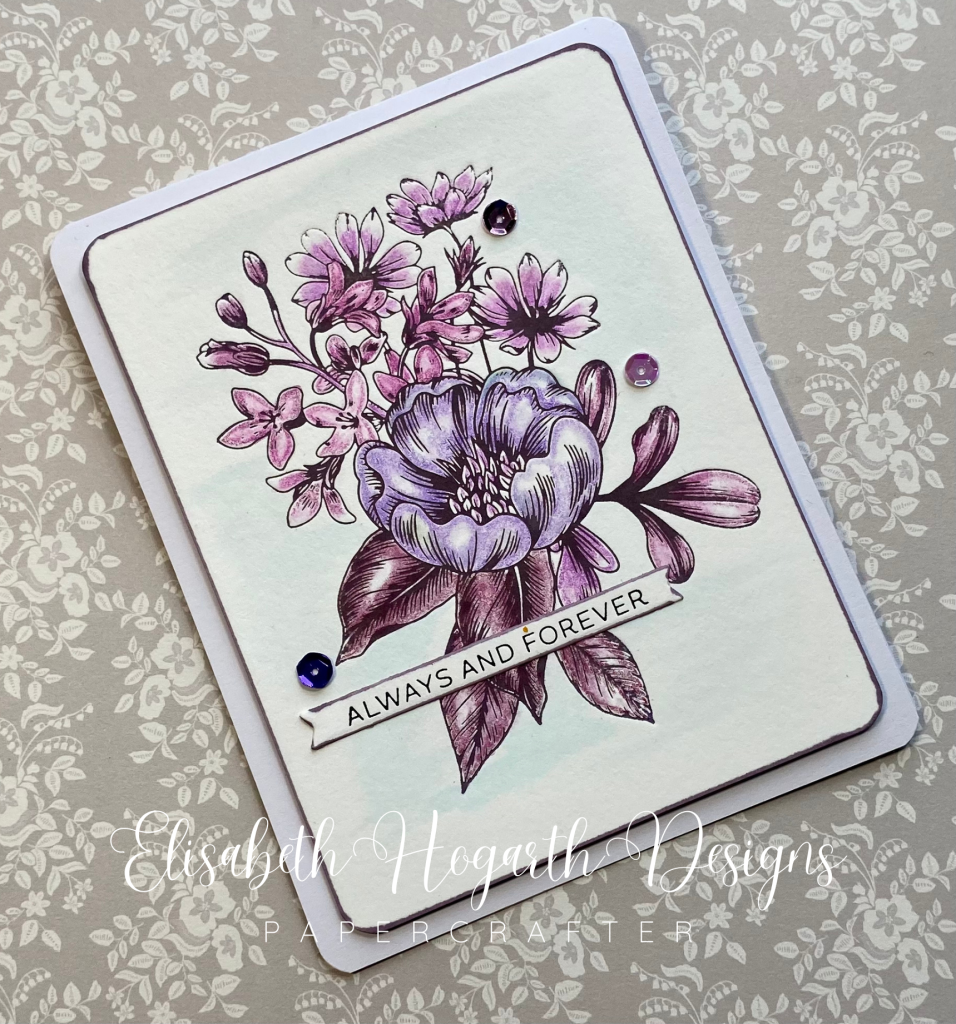
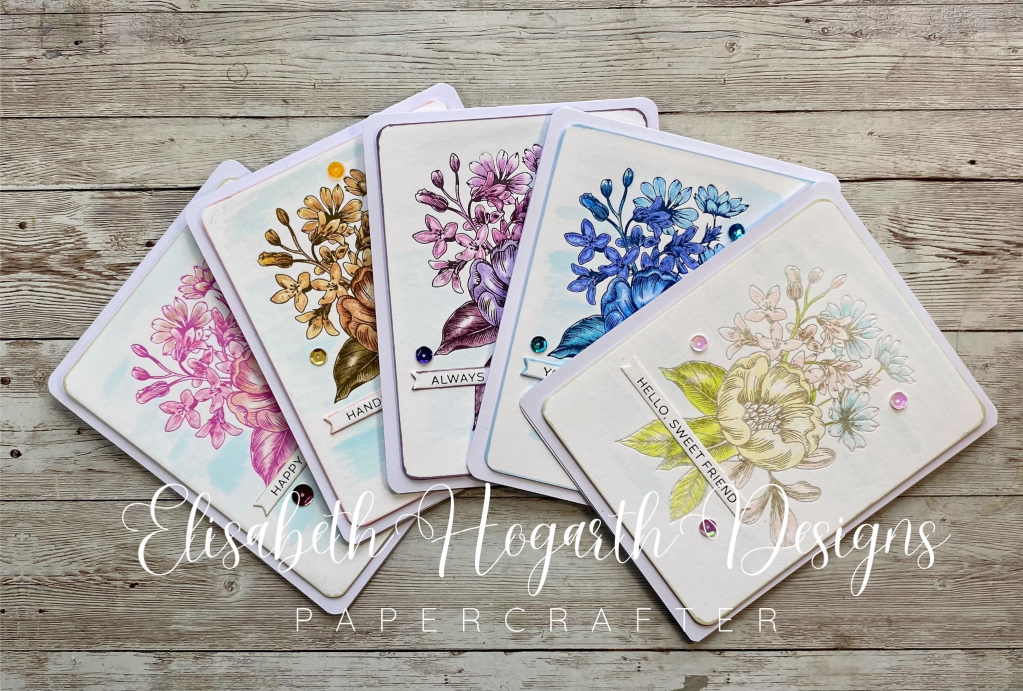
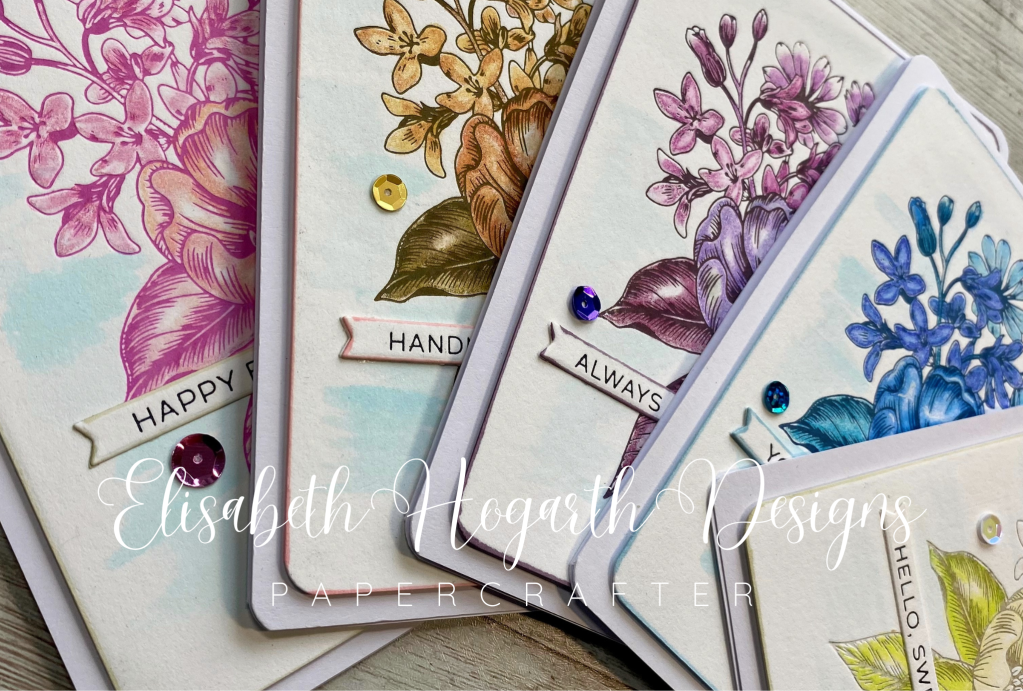
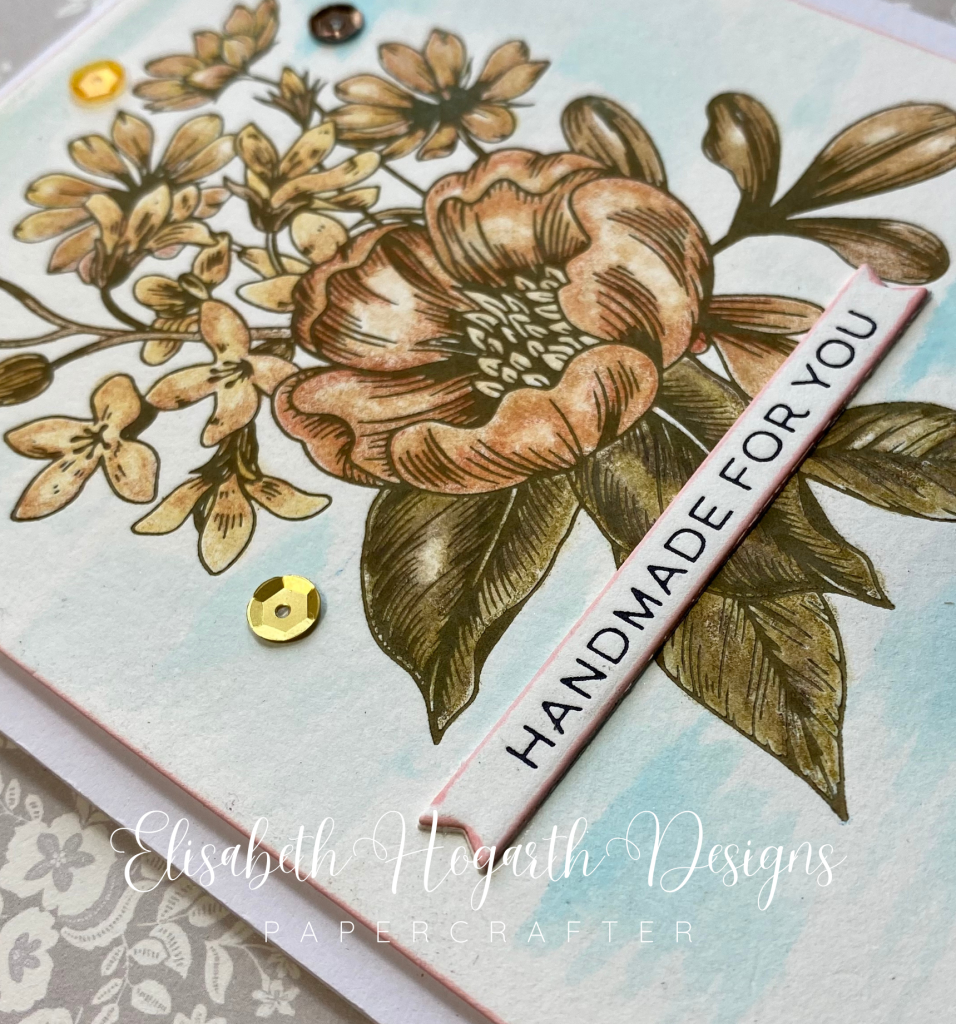
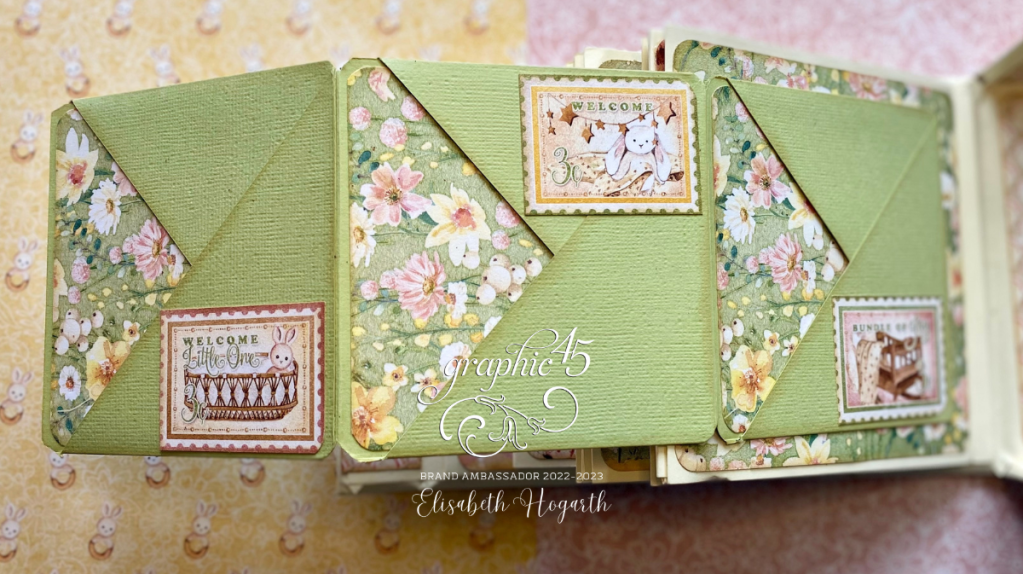
First Set of Cards: Vintage Vibes and Floral Flourishes In the initial set, I aimed for a blend of vintage elegance and floral charm:
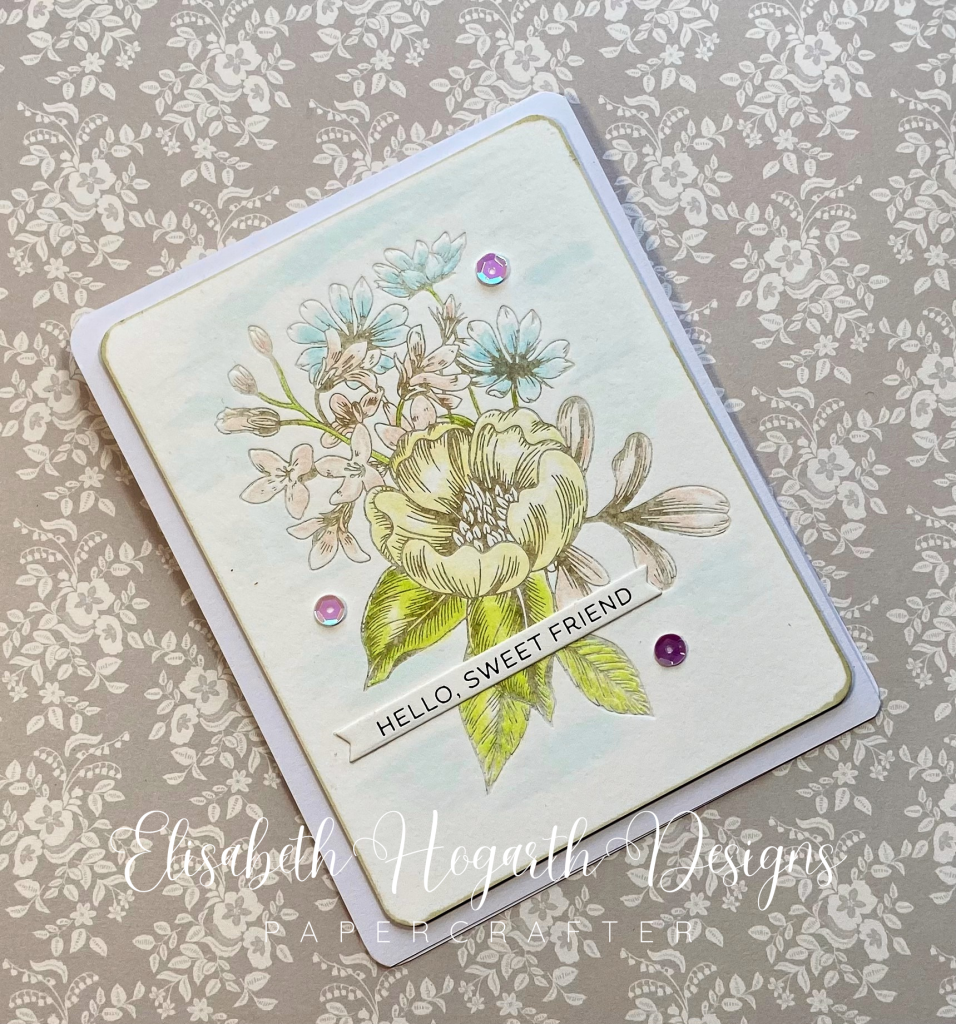
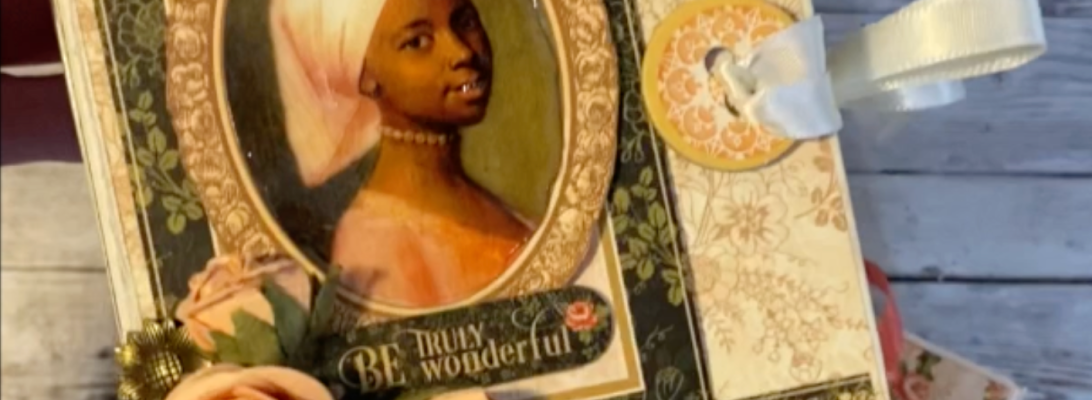
Vintage Card with Wide Washi Tape: I opted for a classic look using a wide roll of washi tape, capturing a timeless vintage design.
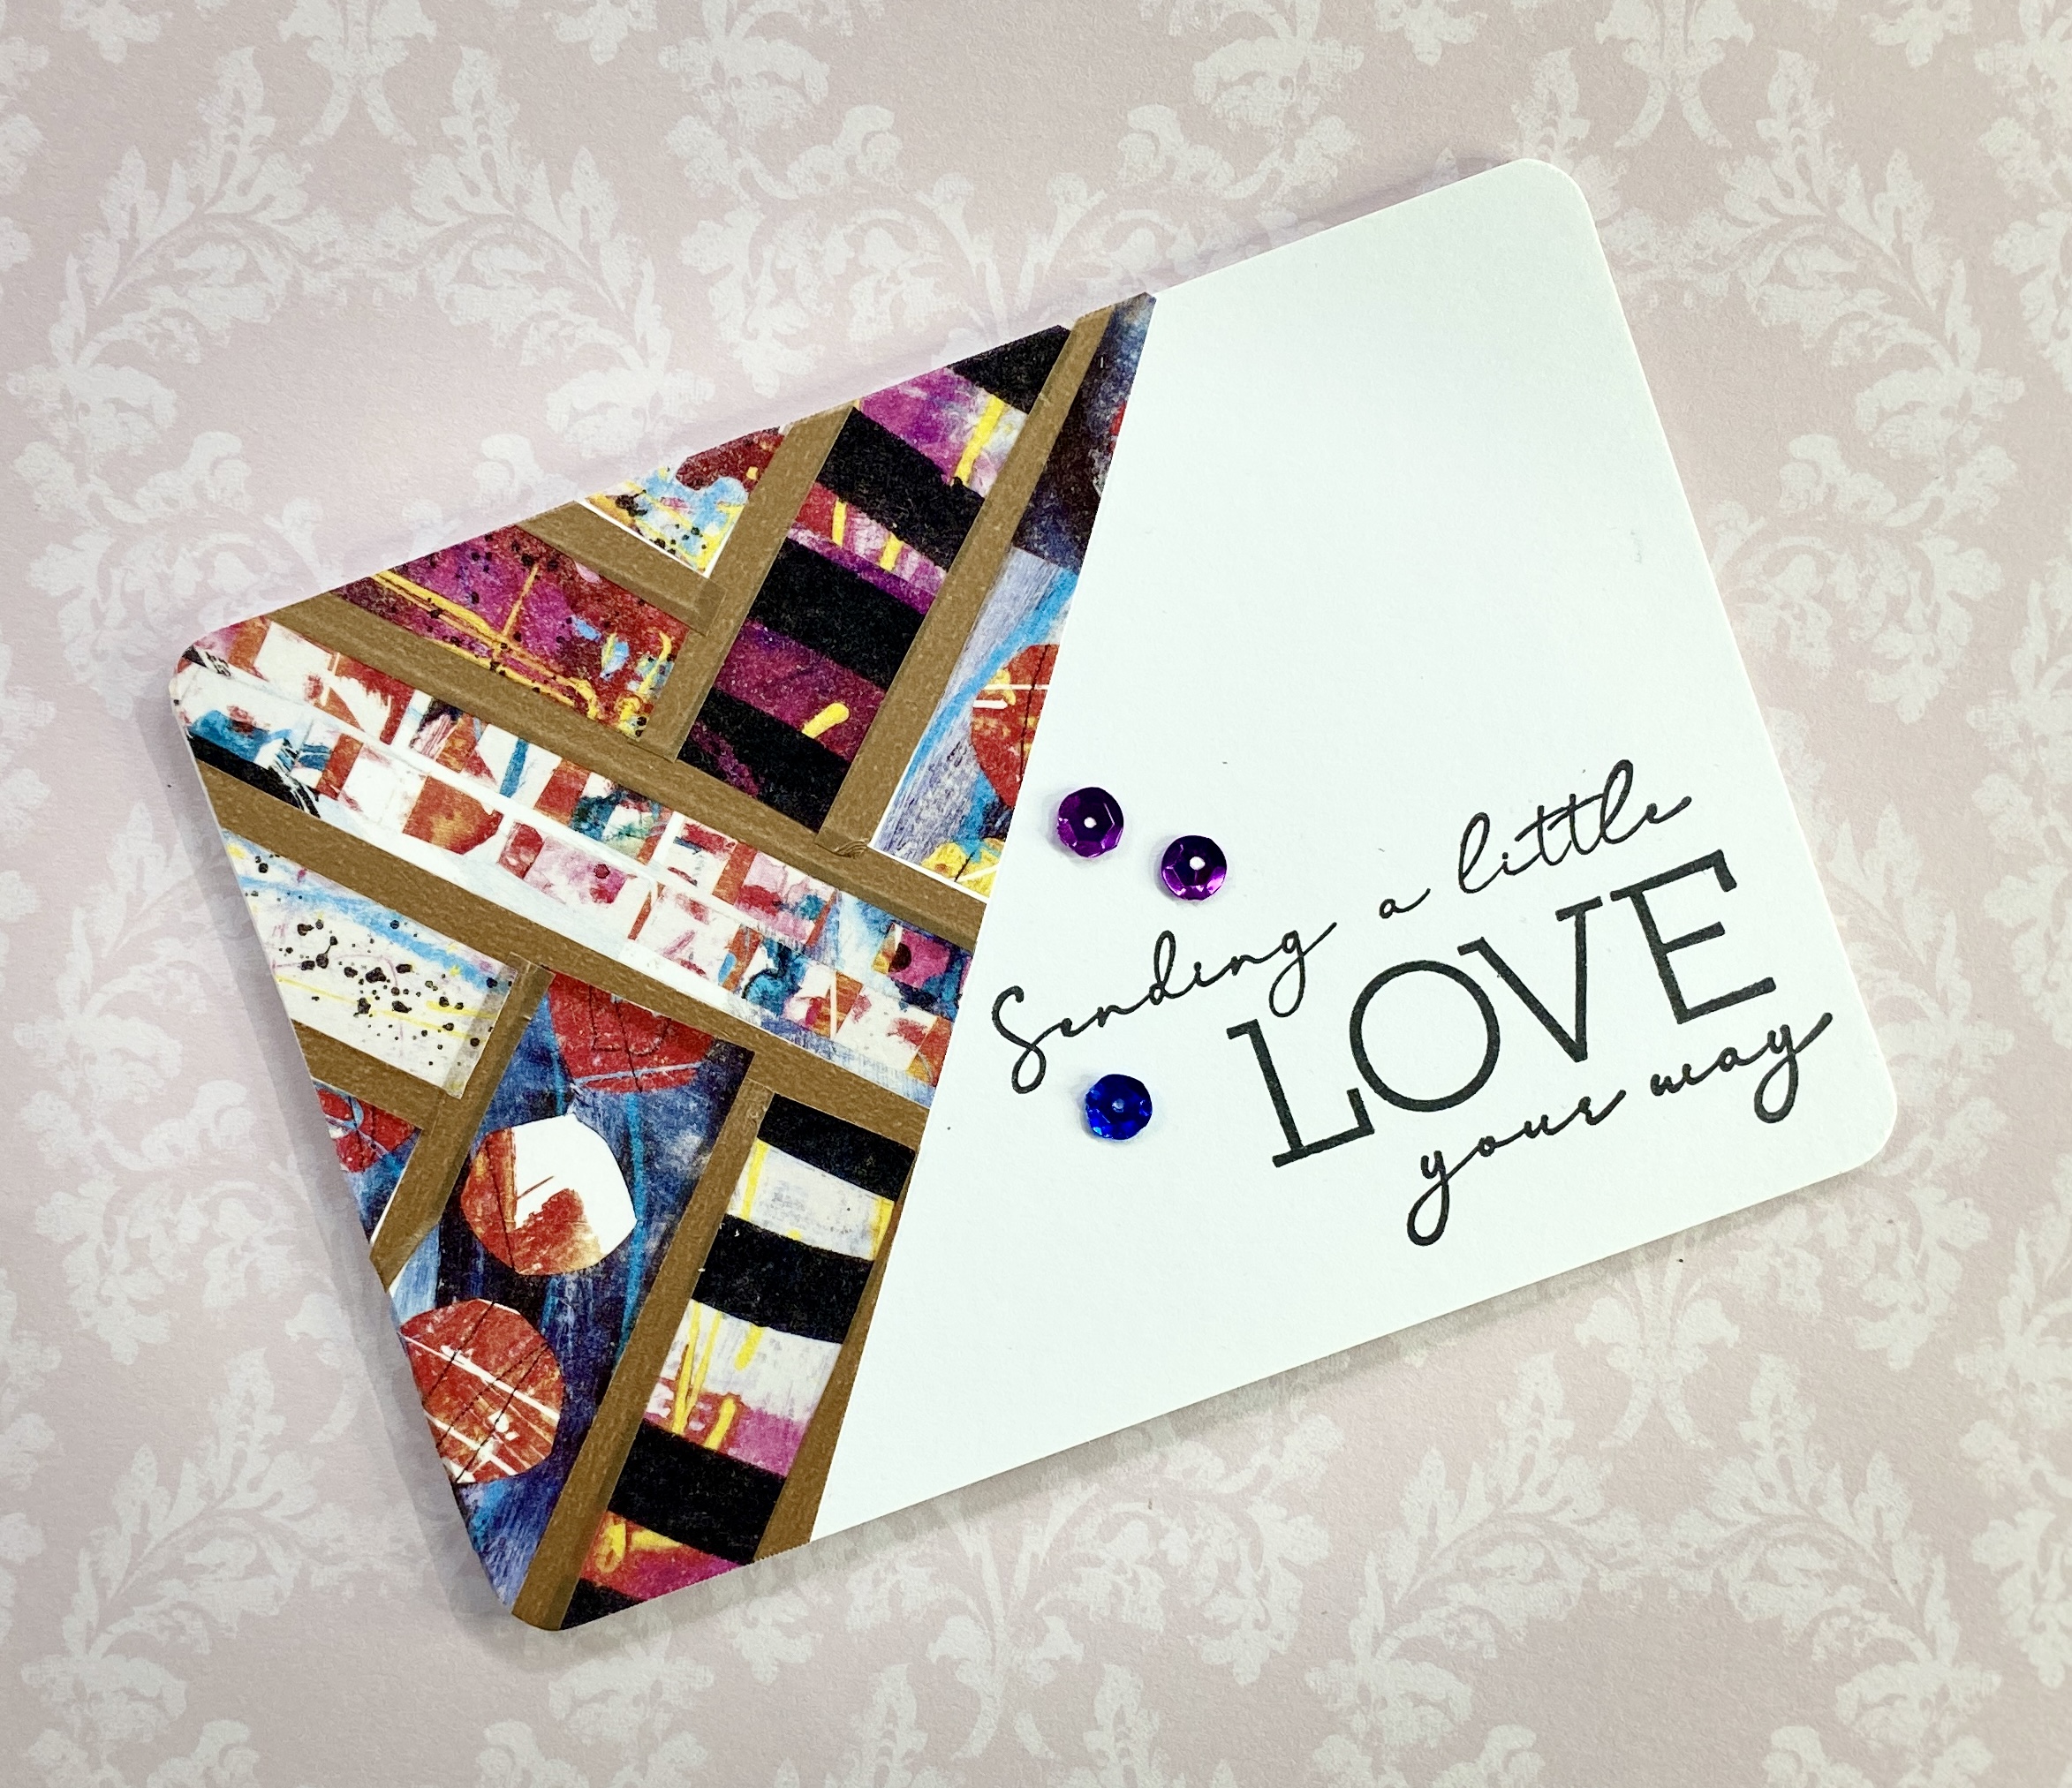
Arty Designs from Washi Tape Patchwork: Playing with angles and bold sentiments, I transformed washi tape patchwork into modern, artsy designs.
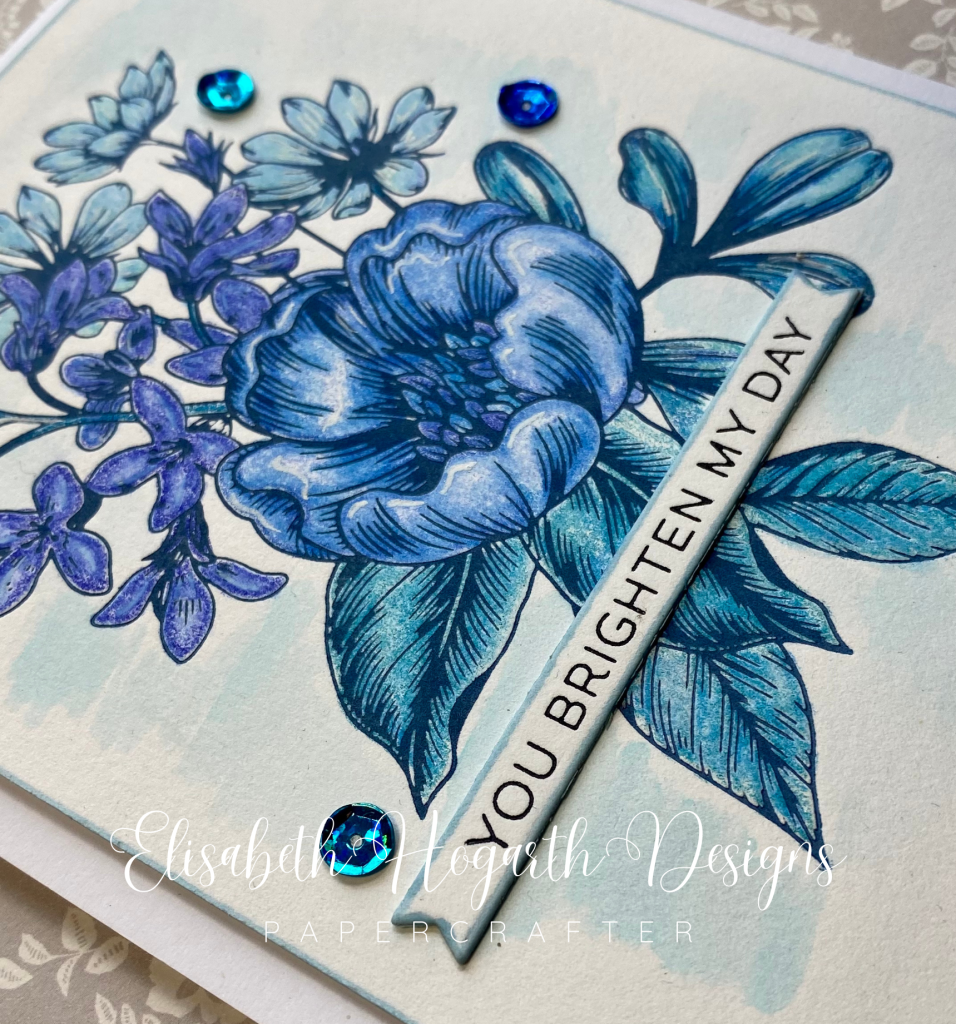
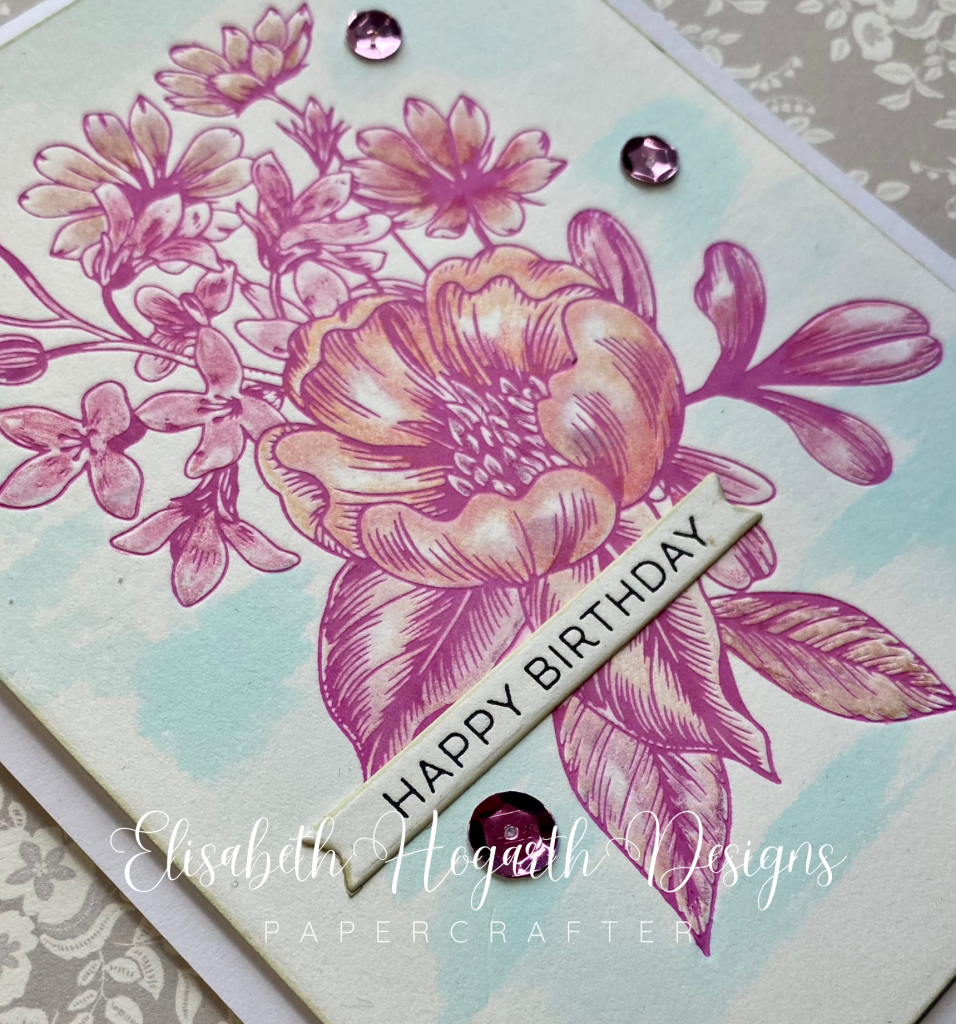
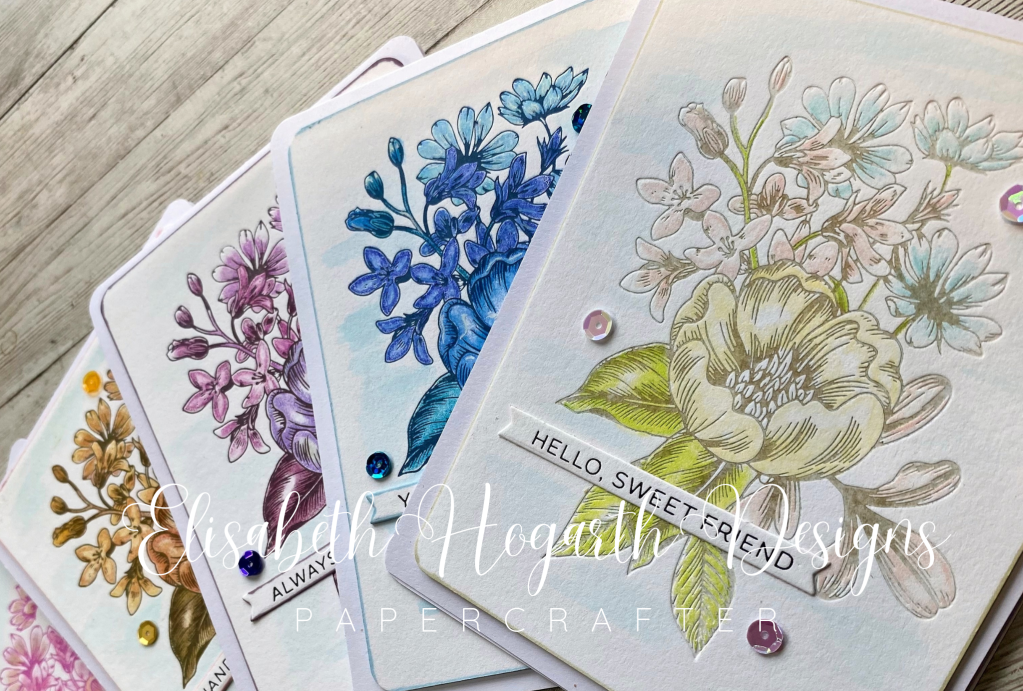
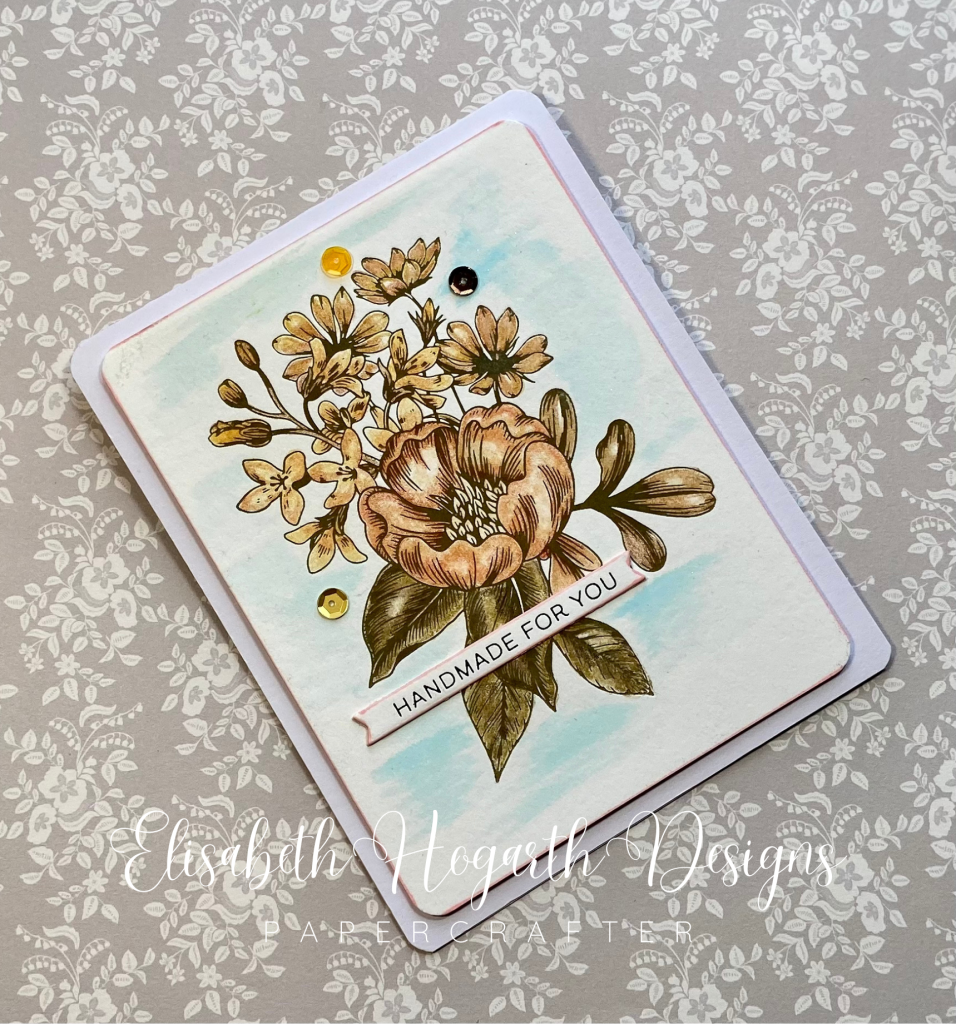
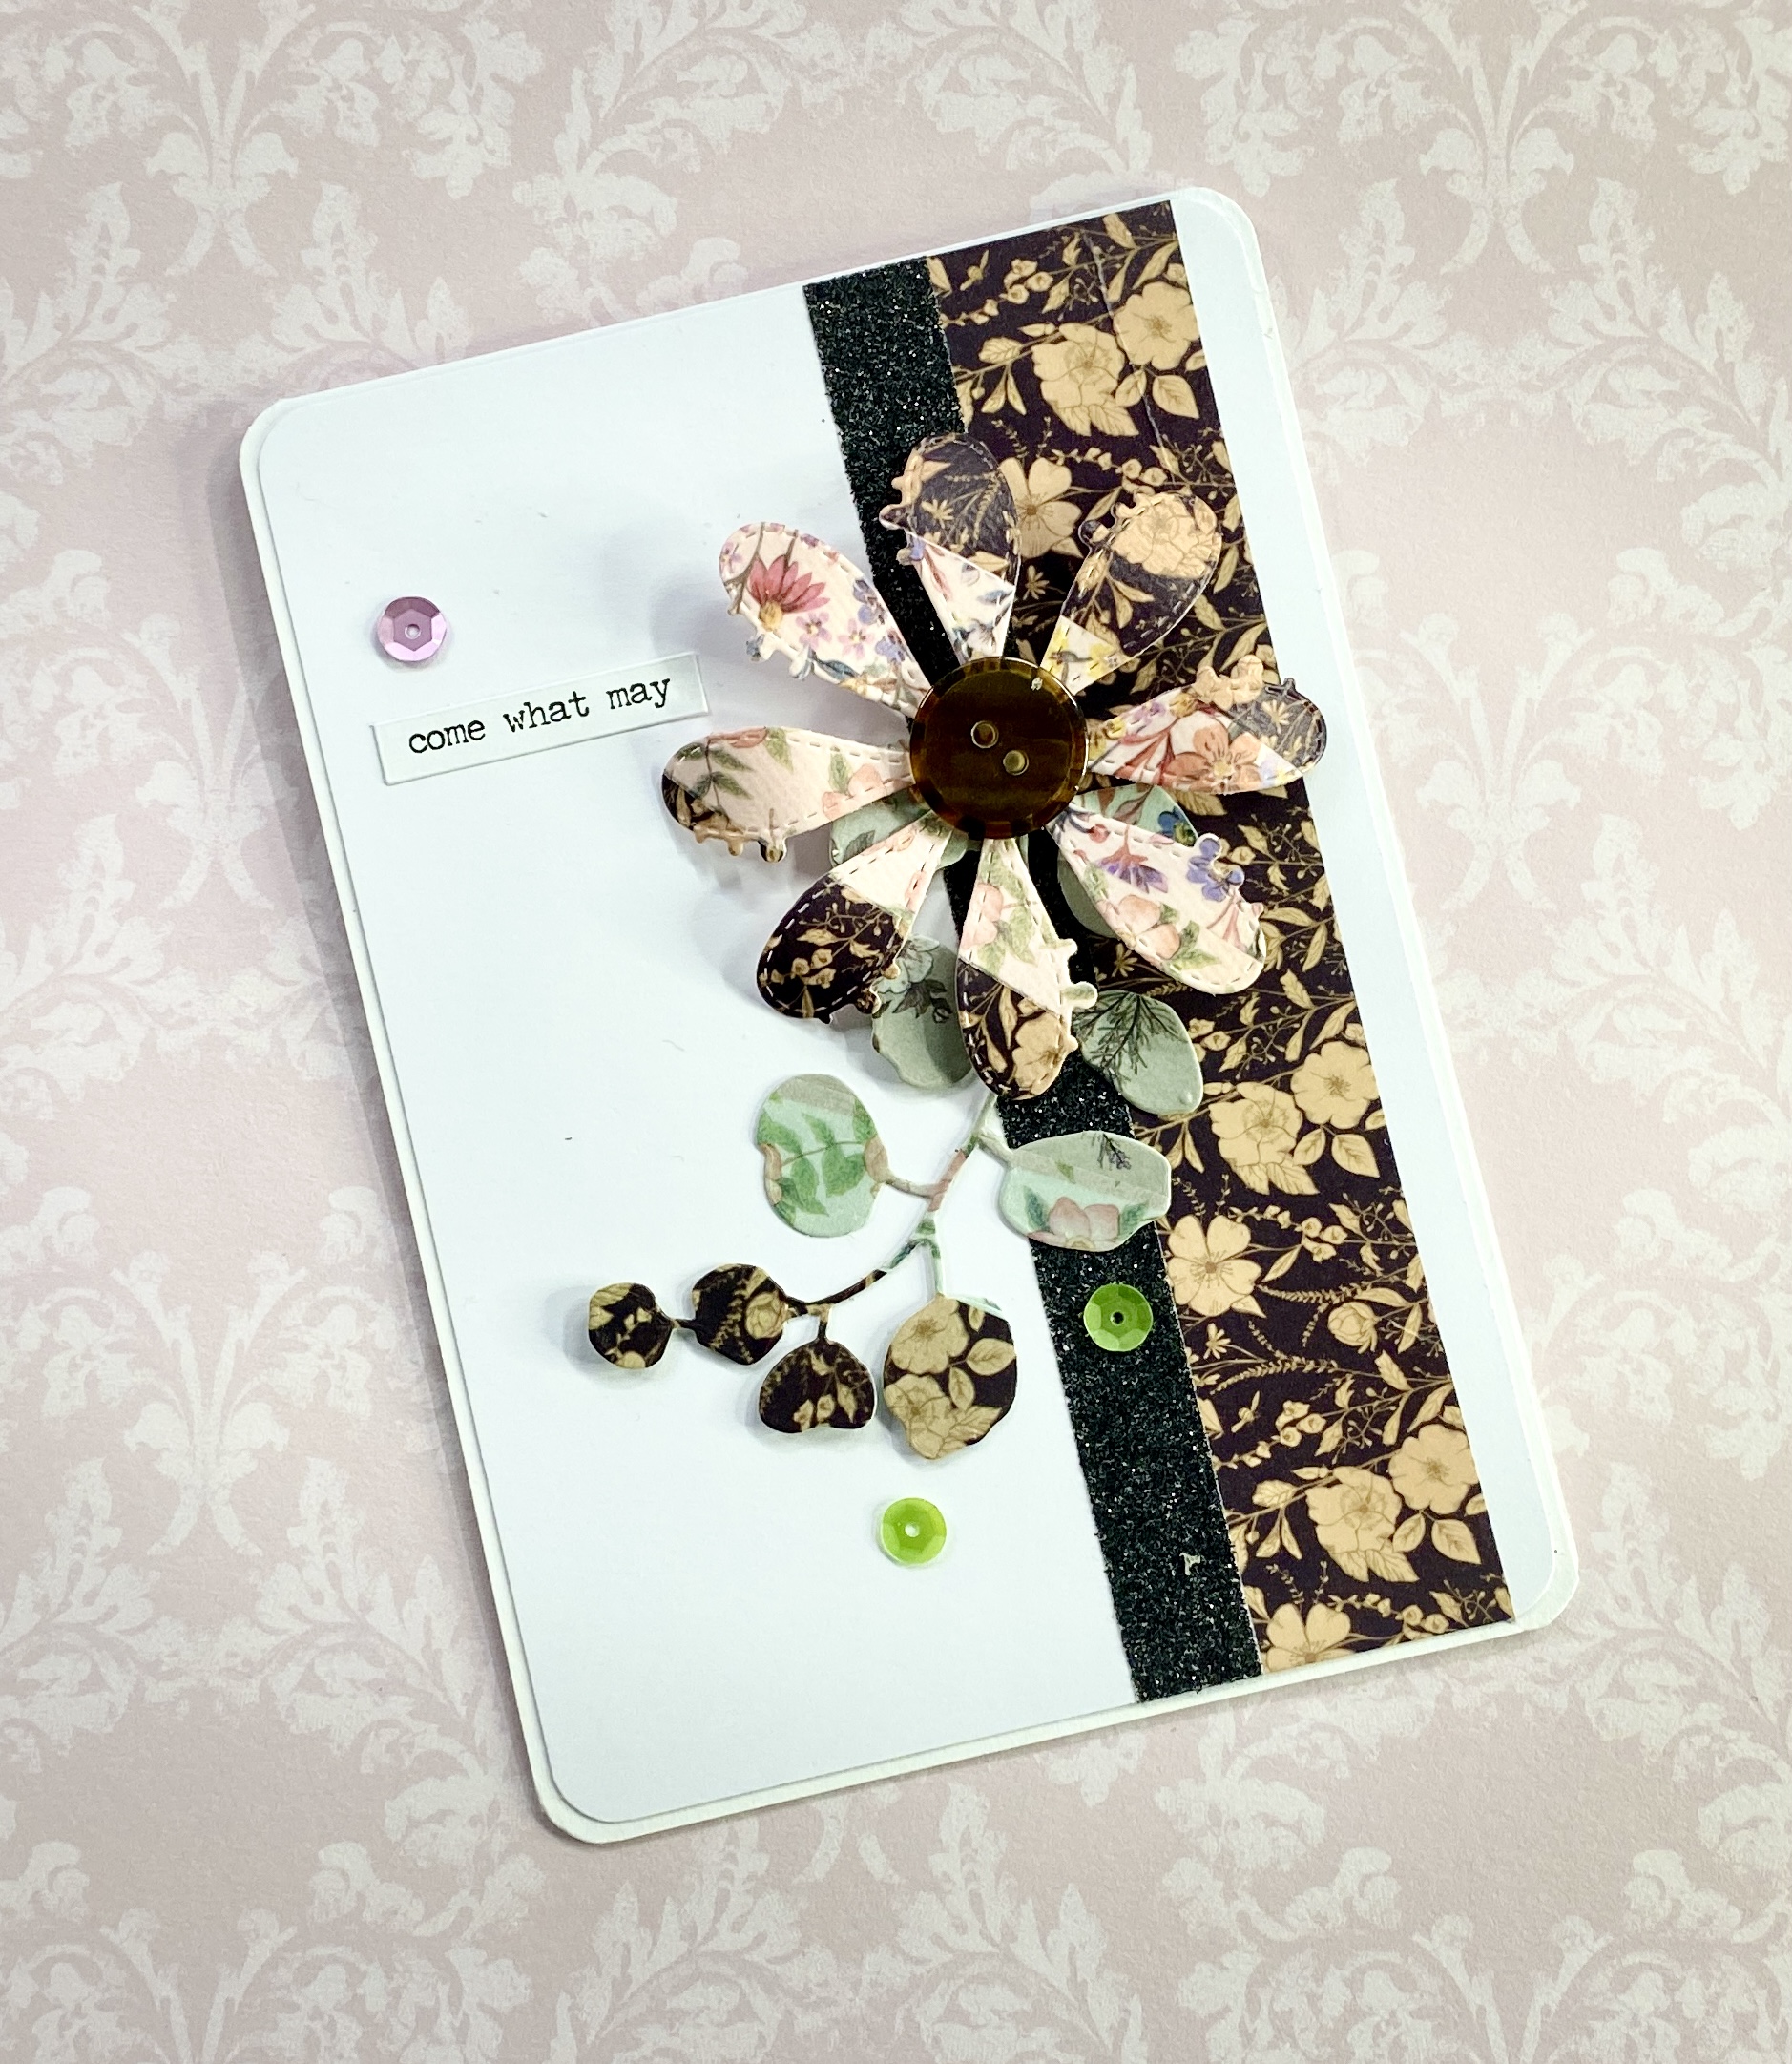
Floral Elements with Washi Tape Background: By layering washi tape to create backgrounds, I then added delicate floral motifs using die cuts for a touch of botanical beauty.
Here is a close-up tutorial of the first set of cards.
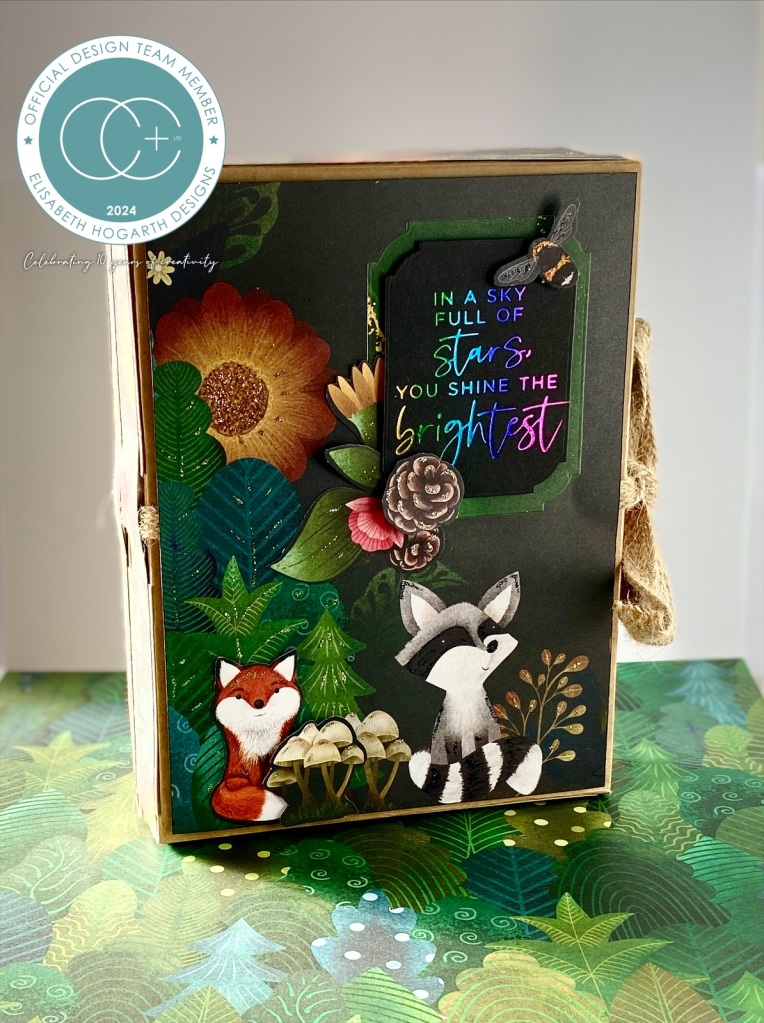
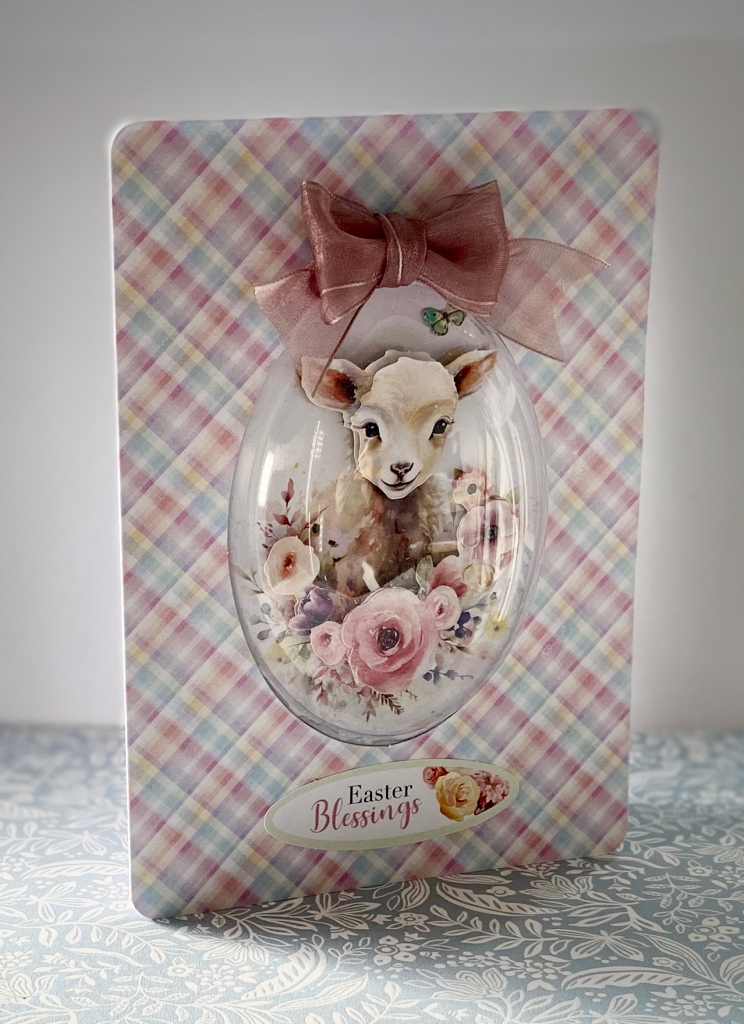
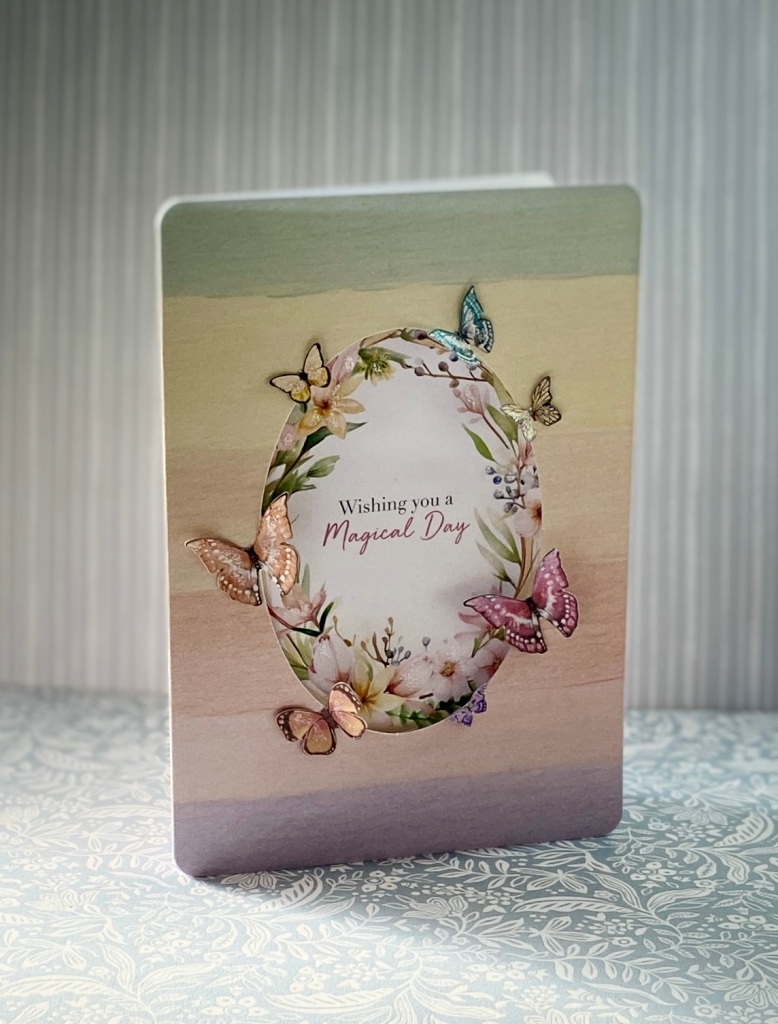
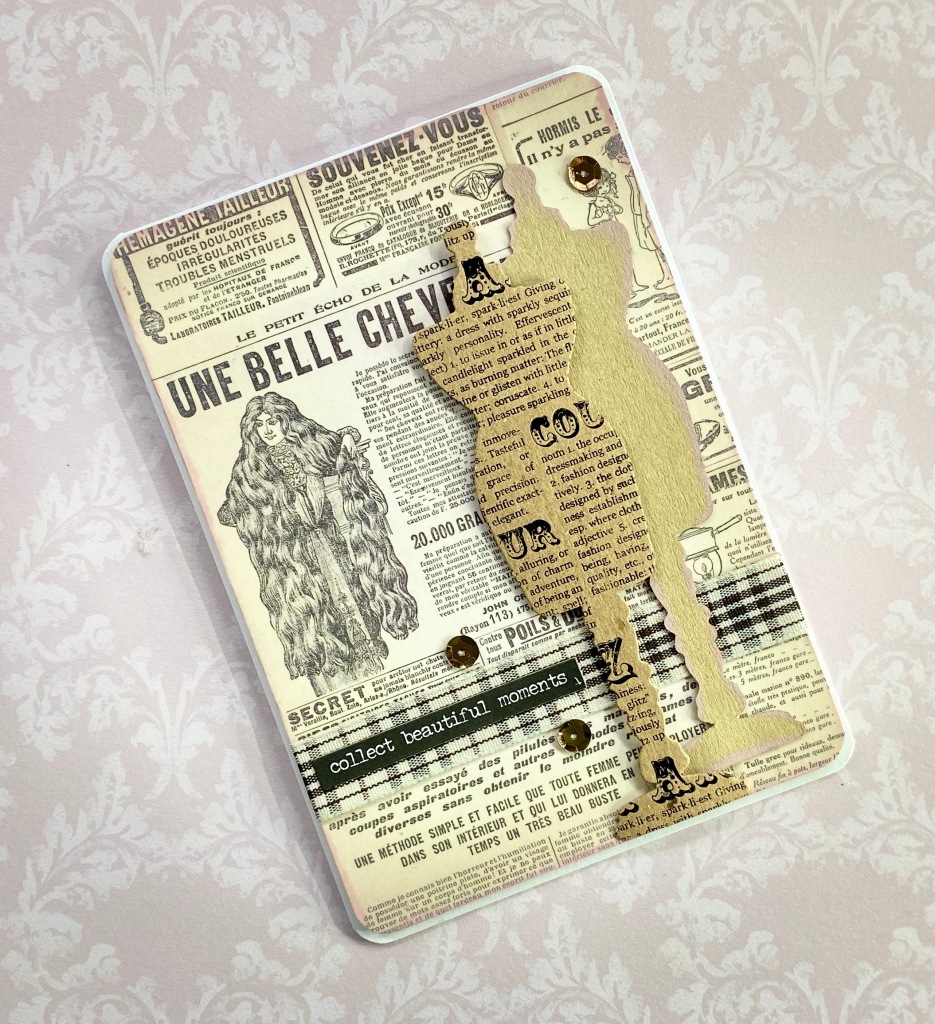
Second Set of Cards: Moving on to the next set, I experimented with textures and techniques using washi tape:
Twisted Ribbon Style with Bronze Washi Tape: Adding depth with bronze washi tape, I crafted a twisted ribbon effect for a touch of sophistication.

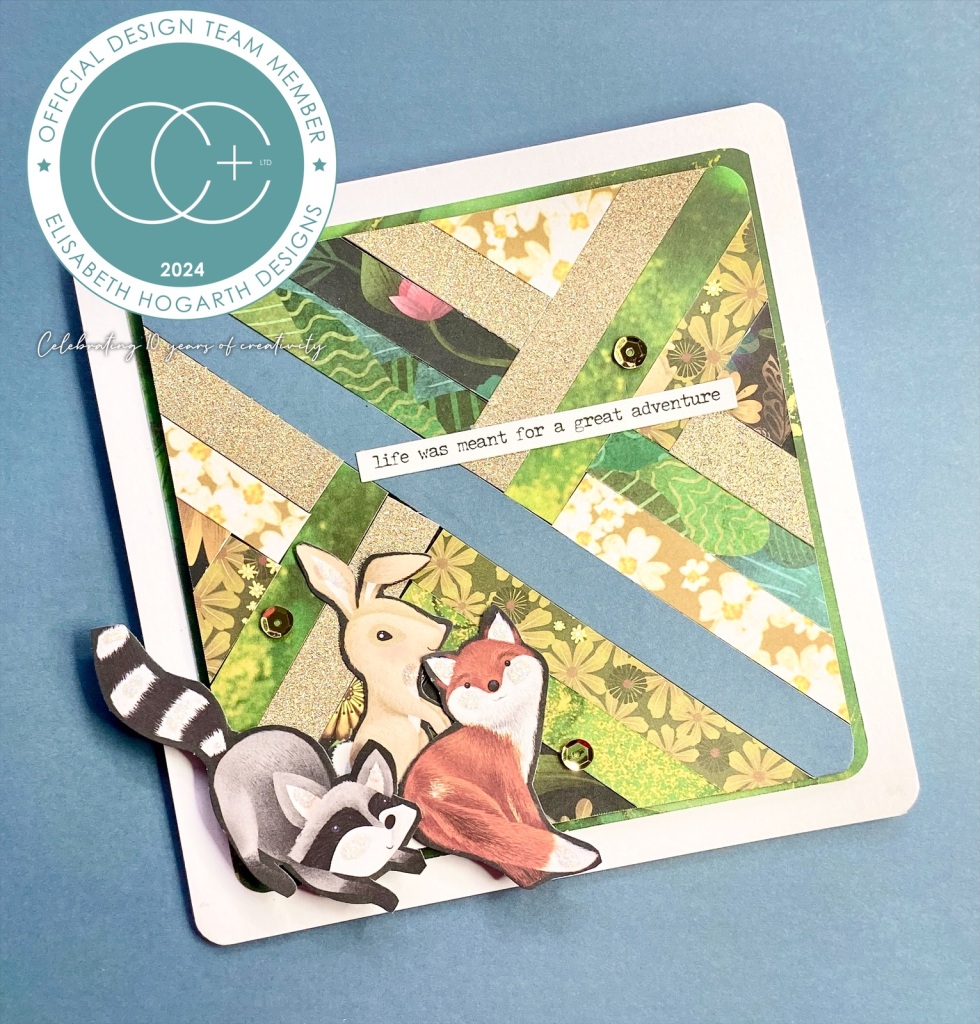
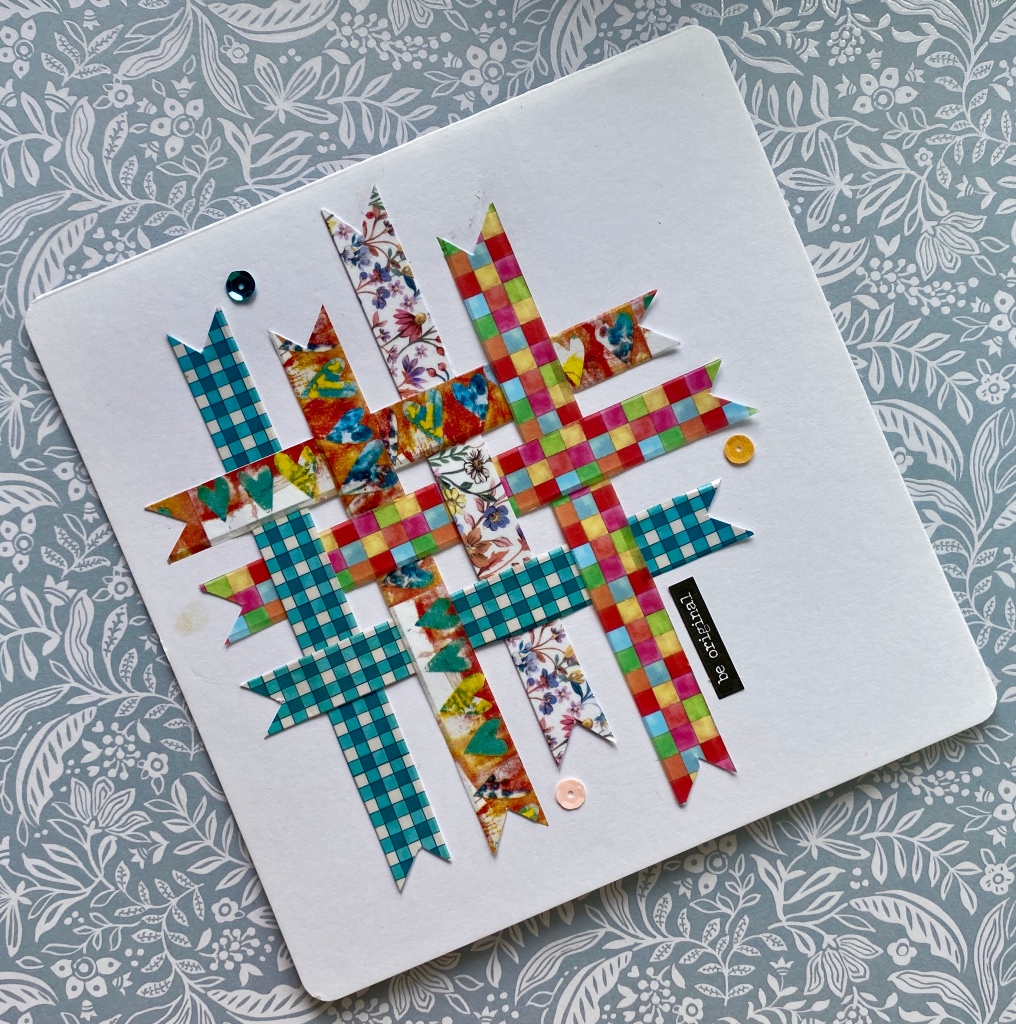
Woven Strips Effect: Playing with the versatility of washi tape, I created the effect of a woven strip by layering and arranging strips onto cardstock.
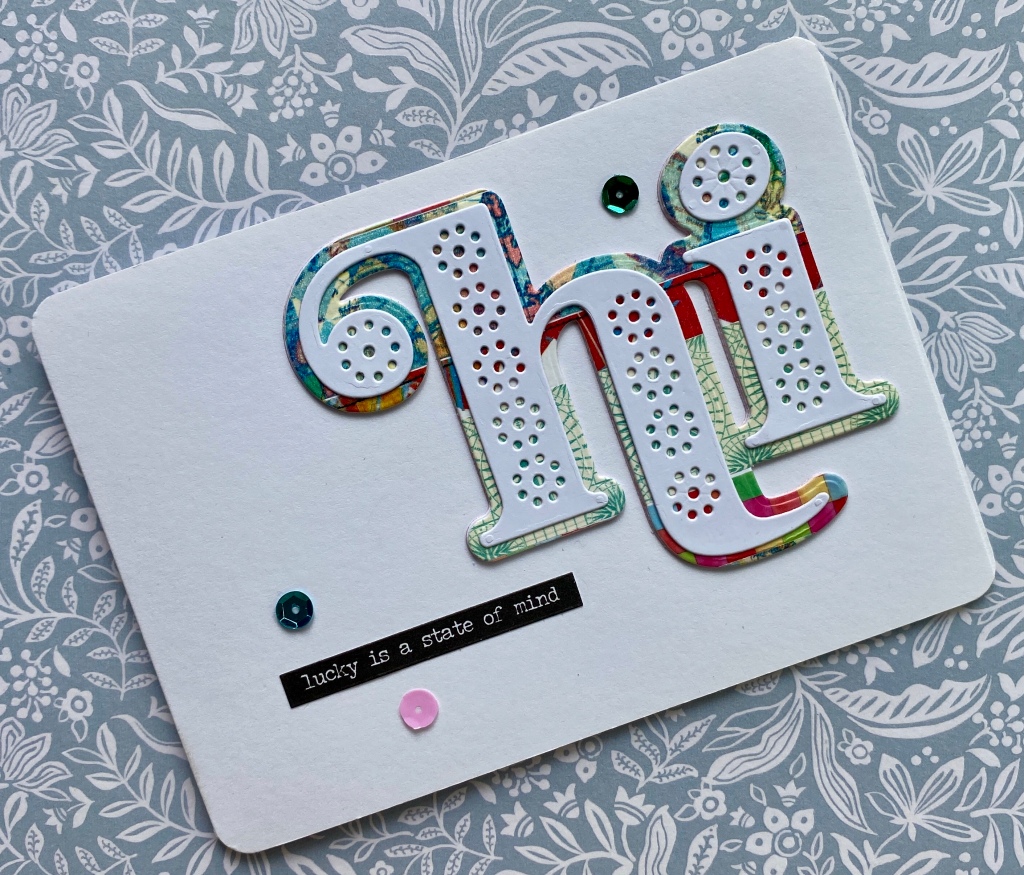
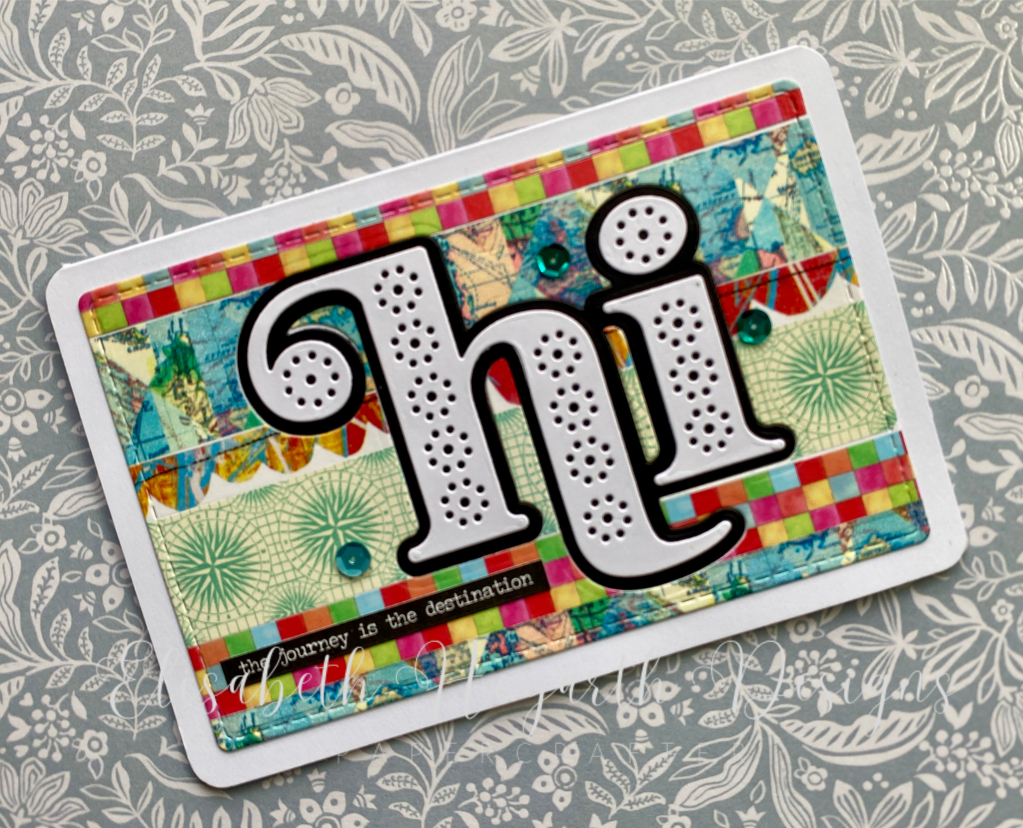
Bold “Hi” Cutout: Making a statement, I incorporated a bold “Hi” cutout into vibrant washi tape backgrounds. To add depth I glued two additional white layers together before adding the washi tape letters.
Innovative Use of Waste: Waste not, want not! I repurposed leftover washi tape scraps, crafting intricate layers and details for added visual interest.
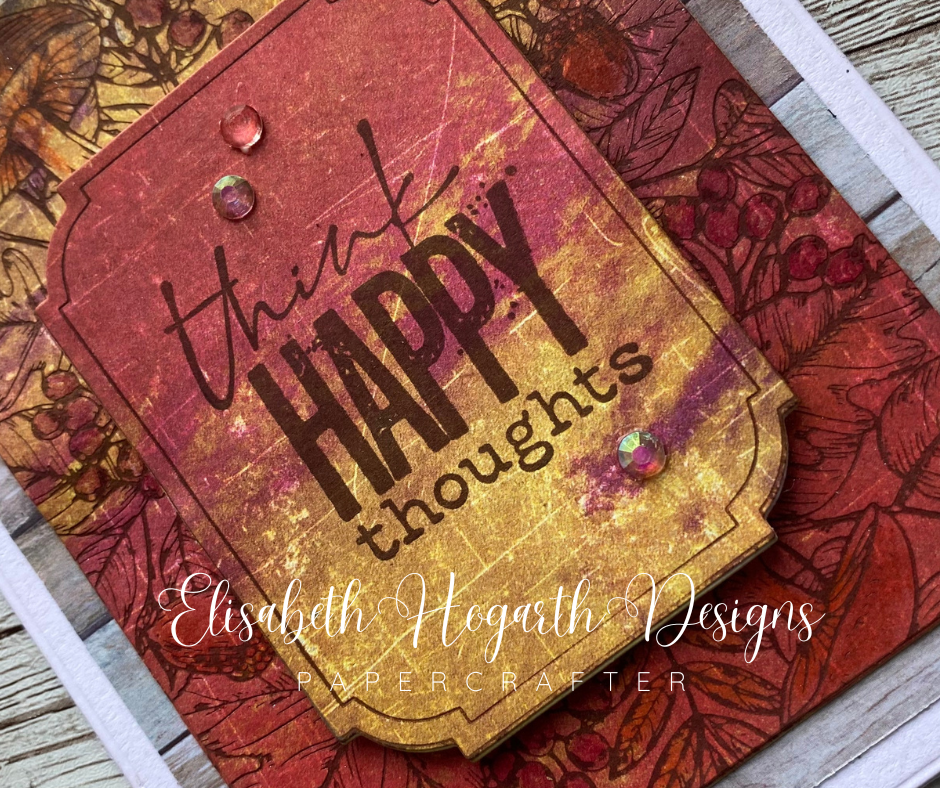
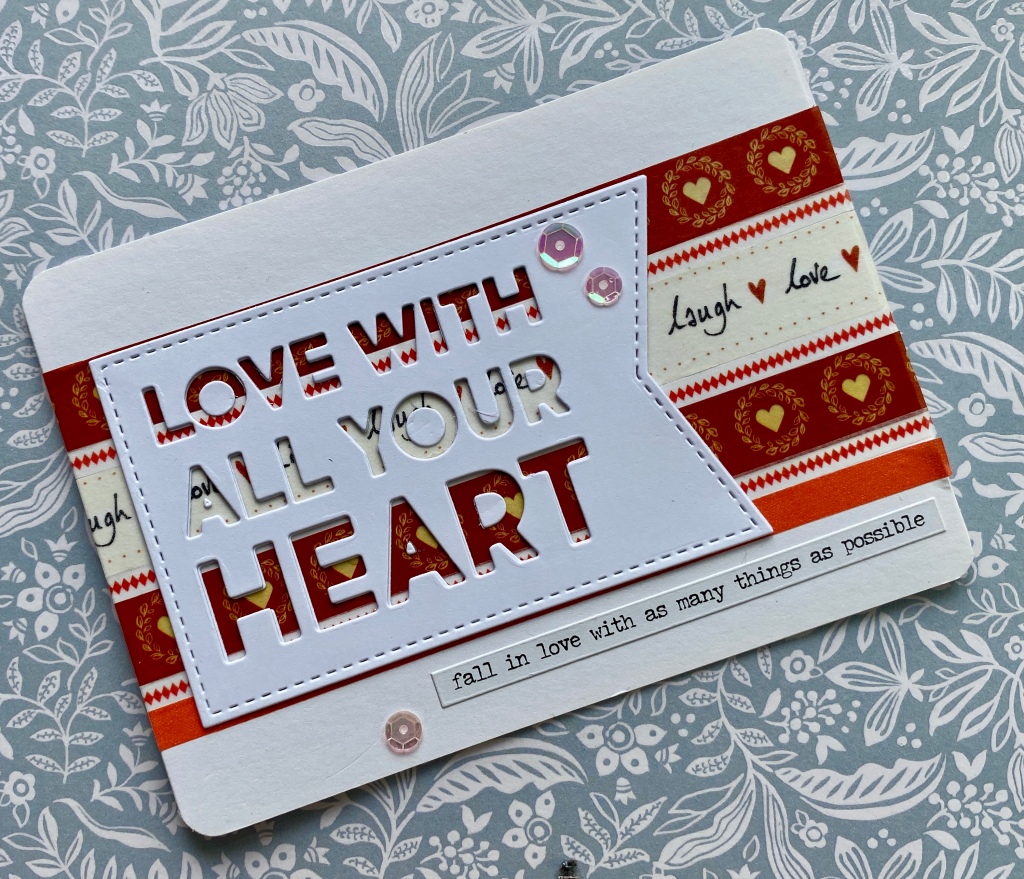
Love-Themed Background with Sentiment Tag: Keeping it simple, I added backgrounds with love-themed washi tape, finishing with die-cut sentiment tags and my trademark sequins.
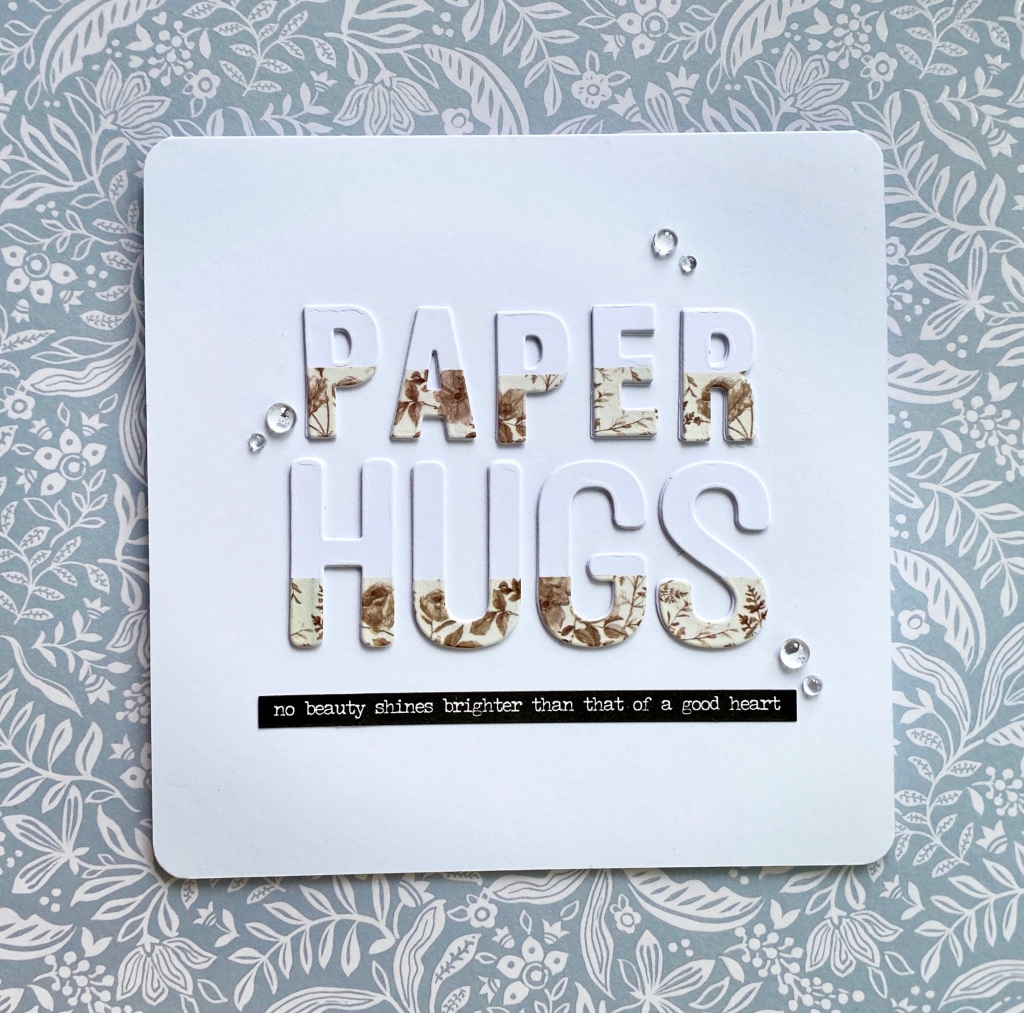
Paper Shadow Technique: Exploring paper shadowing, I added detail by incorporating washi tape along the base of the lettering before die-cutting and layering three cutouts together.
Here is the second video showing more of the techniques used in these cards:
Conclusion:
As you can see, there are endless ways to create cards with washi tape. I would love to know which of the techniques you tried so please tag me in your makes on social media. I used a wide range of crafting products. Please comment below if you have individual questions about certain products used.
Until next time, happy crafting!
Love Elisabeth xx