Three Little Maids

Hello again

Mary Gillingham and Craftwork Cards have really spoilt us with this latest collection. I was lucky enough to buy my Kimono kit at the CWC Down South workshop in Horley.

My first card features three of the darling little geisha girls which I sparkled up a little bit with Stickles. The bow is from the Kitsch kit which matches beautifully with the colours of Kimono

I took this card a step further by using the dainty flower stamps around the edge of the papers. The washi tape band reminded me of the Japanese flag and this time instead of Sparkles I used Glossy Accents to embellish the tags.

My next card started off as a topper with two fans on. Having made rosettes before I used the same technique to make a quarter of a circle which I then finished off with a bead and a paper twirl.

The last one for now was inspired by
the Lily flower in my pond ( and Monet). I used some floral tissue paper which I die cut with a flower shape several times. I layered it up and added some golden gloss drops to the centre.

My crafting trip to Japan is by no means over yet. ではまたすぐにね

Much love x Elisabeth x

Sunday in the Savannah 

“One cannot resist the lure of Africa.” – * Rudyard Kipling

Hello again 

I may not have visited Africa but I could not resist the lure of this Savannah collection from Craftwork Cards.   I matched the papers with Kraft card and brown or orange glitter papers. 

I die cut a circle of burnt orange glitter card in order to lift up the topper. The paper flowers also come with the kit and I think they work perfectly with the papers 


I used the animal print paper as the starting point for this card. To lift the topper this time I used brown glitter card. The CWC paper bow always makes a great embellishment. This bow is two layered on top of one another. 


I wanted to use the outer edge of the brown glitter card so I stuck it to the Kraft card and then cut through the circle I had already made   I also used the topper edge to fill the gap. Another bow and a few Candi was all that was needed to finish it off. 


More glitter card – this time gold.   I cut another circle and a few leaves.  I cut about 3cm from the front. I then used strips of paper and a border to add interest.  The circles were then offset over the edge. The topper was originally square but that’s the beauty of having dies you can make them into another shape.  As well as the kit flowers i handpunched some glitter ones to add to the design. 


I then tried out some simpler 5 x 7 cards. The design of the papers is stunning so I cut them down to fit the card.  I’m hoping they will be suitable for men’s cards so I went easy on the bling !  I may change my mind though … 

                 
Last but not least another z fold card which was made using all the scraps from all the other cards   The tree on the left is my favourite illustration in the whole kit.  I added two square toppers at different heights and once again I finished it with the Candi. 


I lost myself in this Savannah collection and I hope you enjoy working with this kit as much as I did 

Much love x Elisabeth x

Inky Fingers 


Hello again 
I’ve had lots of questions about how I achieve the inky cards (as inspired by Julie Hickey) so  I have written step by step instructions on the Facebook Craftwork Cards Fan Page.  The ladies are following the challenge this week and I’m hoping to see some jaw dropping creations by the end of it. 

If you are not a member or simply cannot wait to see the full effect then here are the steps in a little more detail: 

First things first. You will need some white printing cardstock or stamping cardstock 


Distress inks are also required.  Here are three of the colour combos that I’ve used so far. Working from left to right. I find that if you use two shades of one colour and then a bolder or opposing colour you will achieve some good results. 

Inks combination 1 will give you something like this 


Ink combination 2 


Ink combination 3 


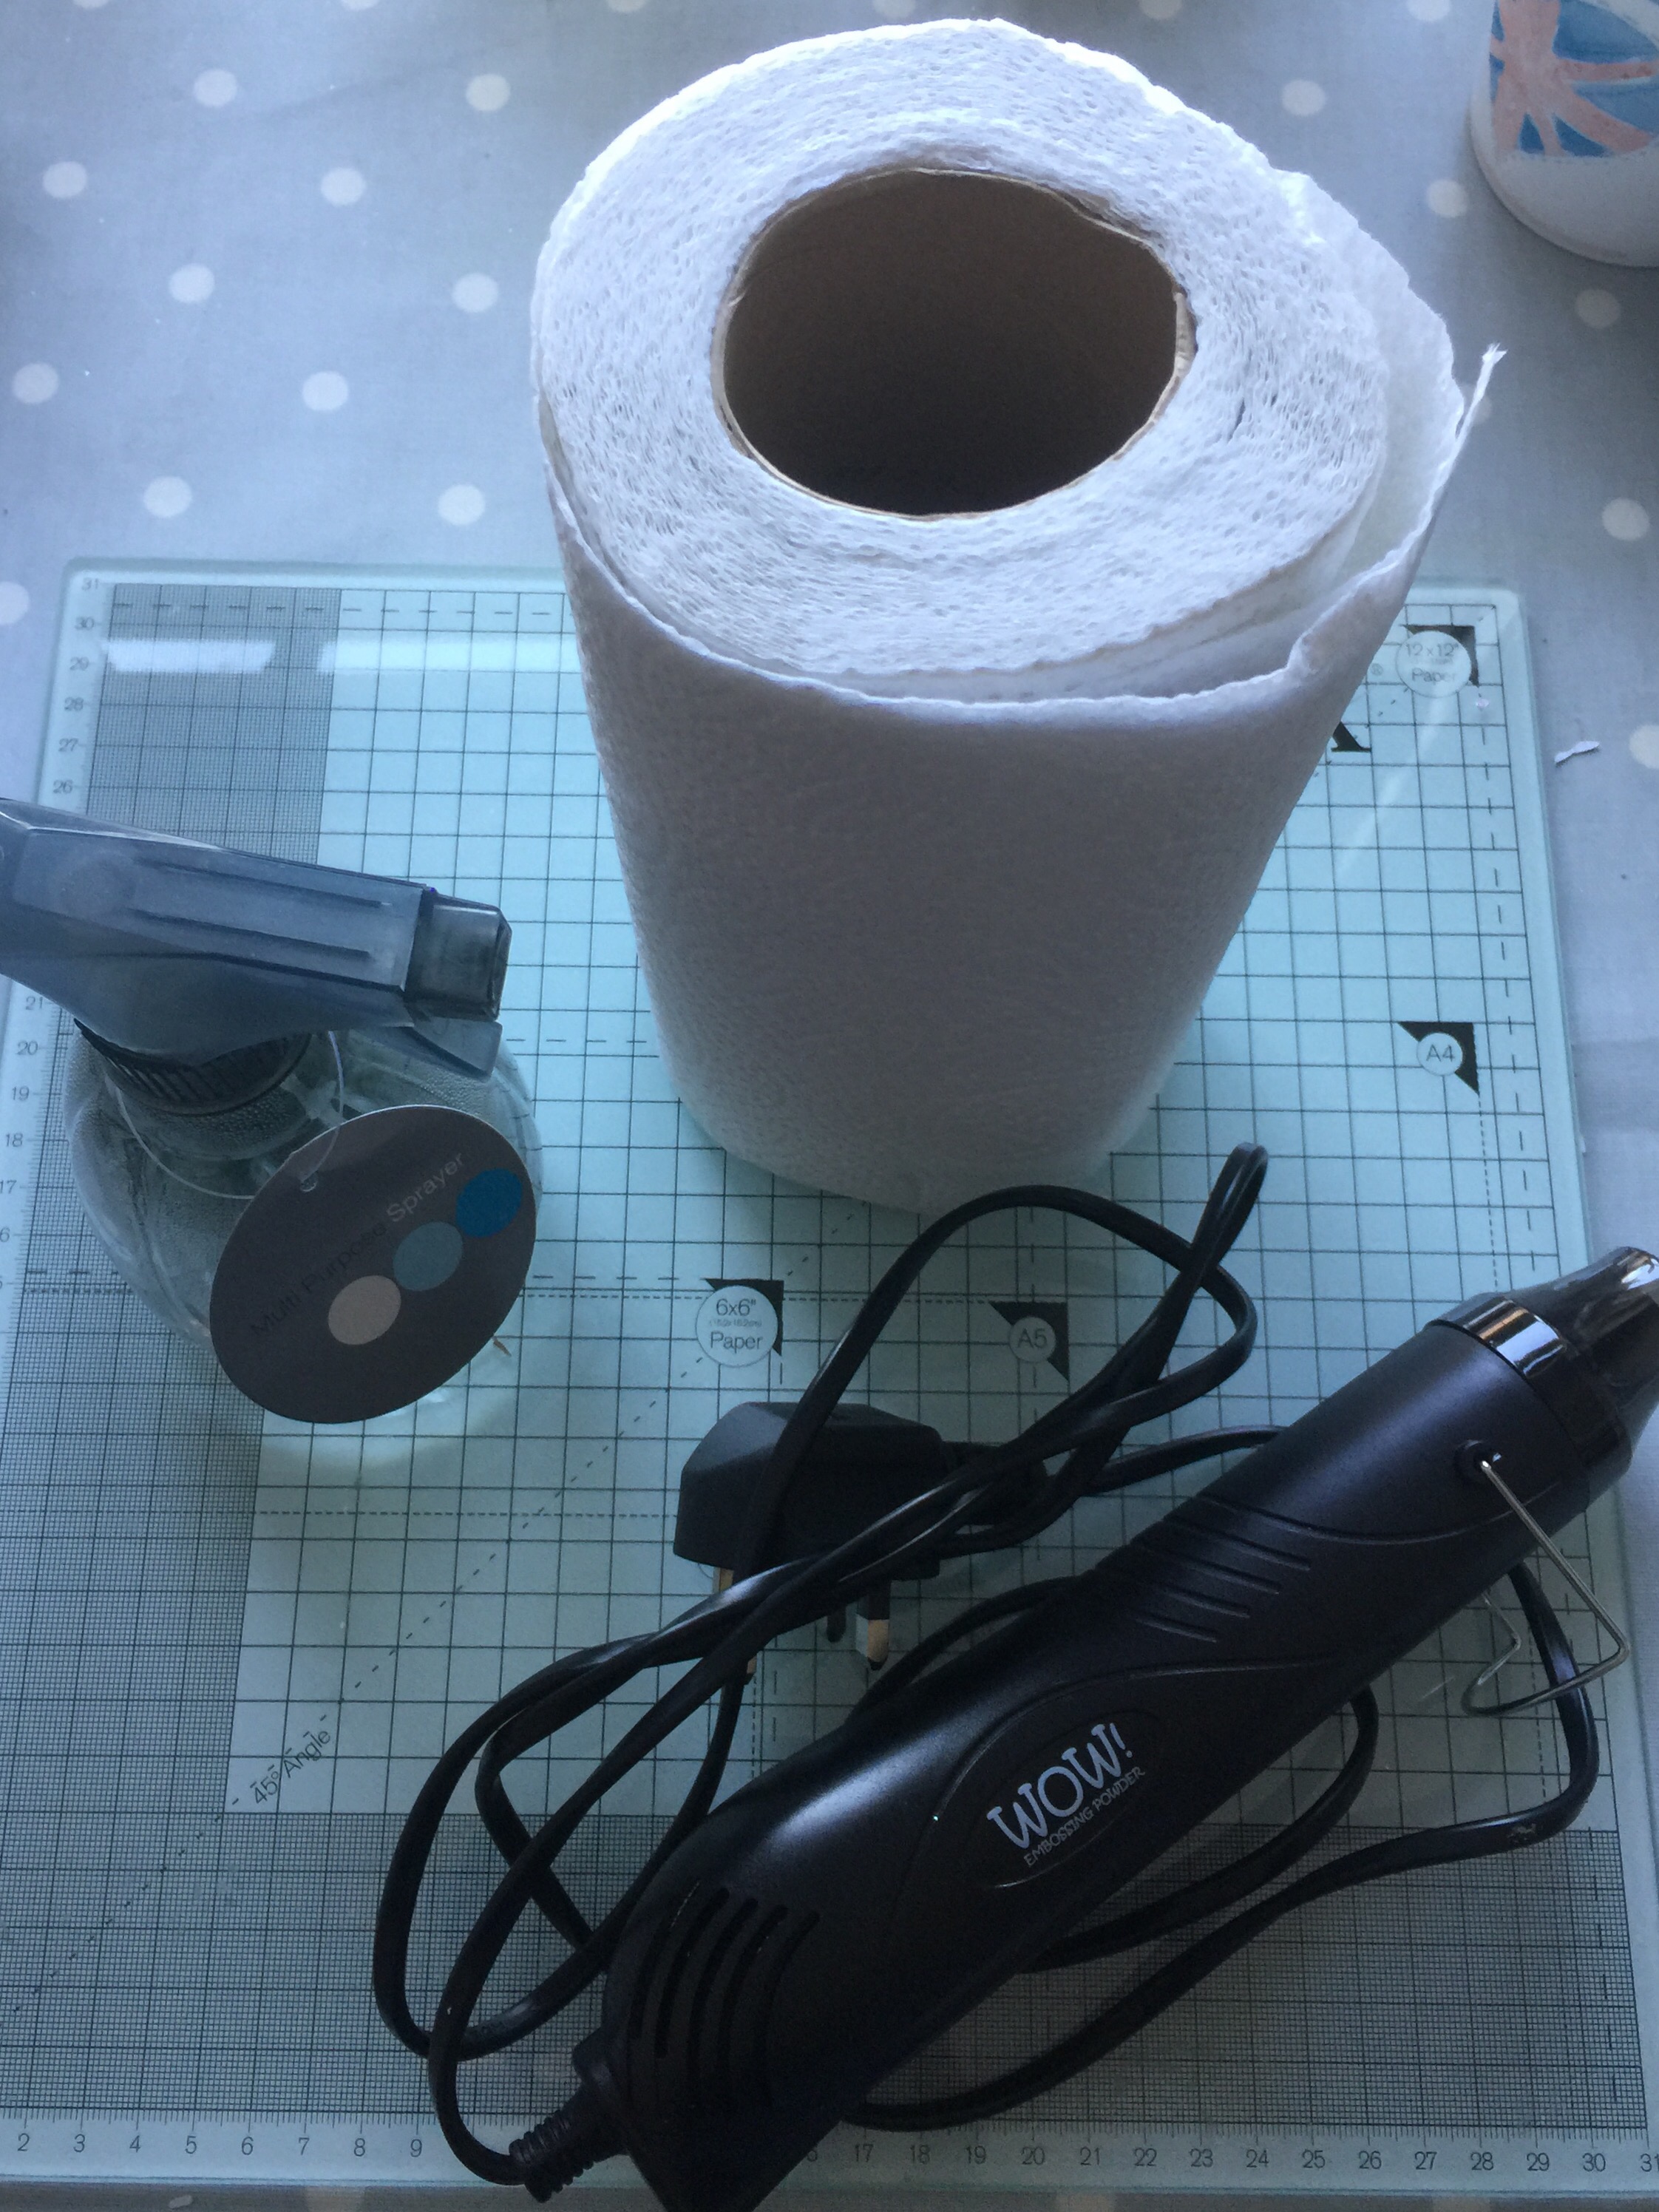
The last items you need for this stage are a heat tool, kitchen roll and a spritzer bottle of water 


In her video Julie showed a freezer bag that can be used for the inking mat. I’ve also tried a glass mat and a blending mat. Just try them out and see what works for you 


Now we are ready to ink. 

Using your preferred mat and your Distress inks squidge them randomly over the surface. 


Spritz with water. Taking a sheet of card skim the surface of your inks. To begin with don’t lay the whole paper on the ink and flatten as you may make it too soggy. After practise this option is good but you need to understand how your paper absorbs the water and ink first. You will be left with something like this. 


Dry the paper well with a heat tool ( or leave to dry naturally) 


Now go for it again. Lift the colour where you want to blend or a different effect.  Remember to skim and lift rather than flatten 


For me this second time was a little too green so I went for it again and layed the paper with the green on the yellow ink. The more layers the more interest. Just stop when you like what you see. Remember to leave some white and dry your paper in between. 


There is still plenty of ink on your mat at this point so take a fresh sheet of paper and see what you get. 

Personally I like the lighter shades for the tags. While I use the darker sheets for the embellishments but that’s entirely up to you. 


I tend to leave my paper overnight as I like to see the patterns with a fresh pair of eyes but they should be ready to use straight away. 

Next cut out your tags. I use a scalpel and the card back of a finished tag pad.  I also look at where I’m cutting as that forms part of the design. Any paper that is left over can be used to die cut or hand punch shapes. 

Use the darker sheet and your leftover paper to cut out the flowers, hearts, mini tags of your choice 


I used 1 sheet of A4 in total for the tags and embellishments 


And look how much I got 


Take the tag and gently ink the edges with black ink 


Before using a black fine line pen to draw a border.  Lines and a dot work better than a solid black line 


My two tags are ready 


I am a fan of washi tape so I use it to create a panel across my card. Strips of paper or ribbon would be equally as good 


Next is the stamping. I have used various CWC stamps on these tags but these particular ones feature the Julie Loves sets which are available on subscription every month. 


Then I prepare the flowers by carefully curling the petals and layering them up 


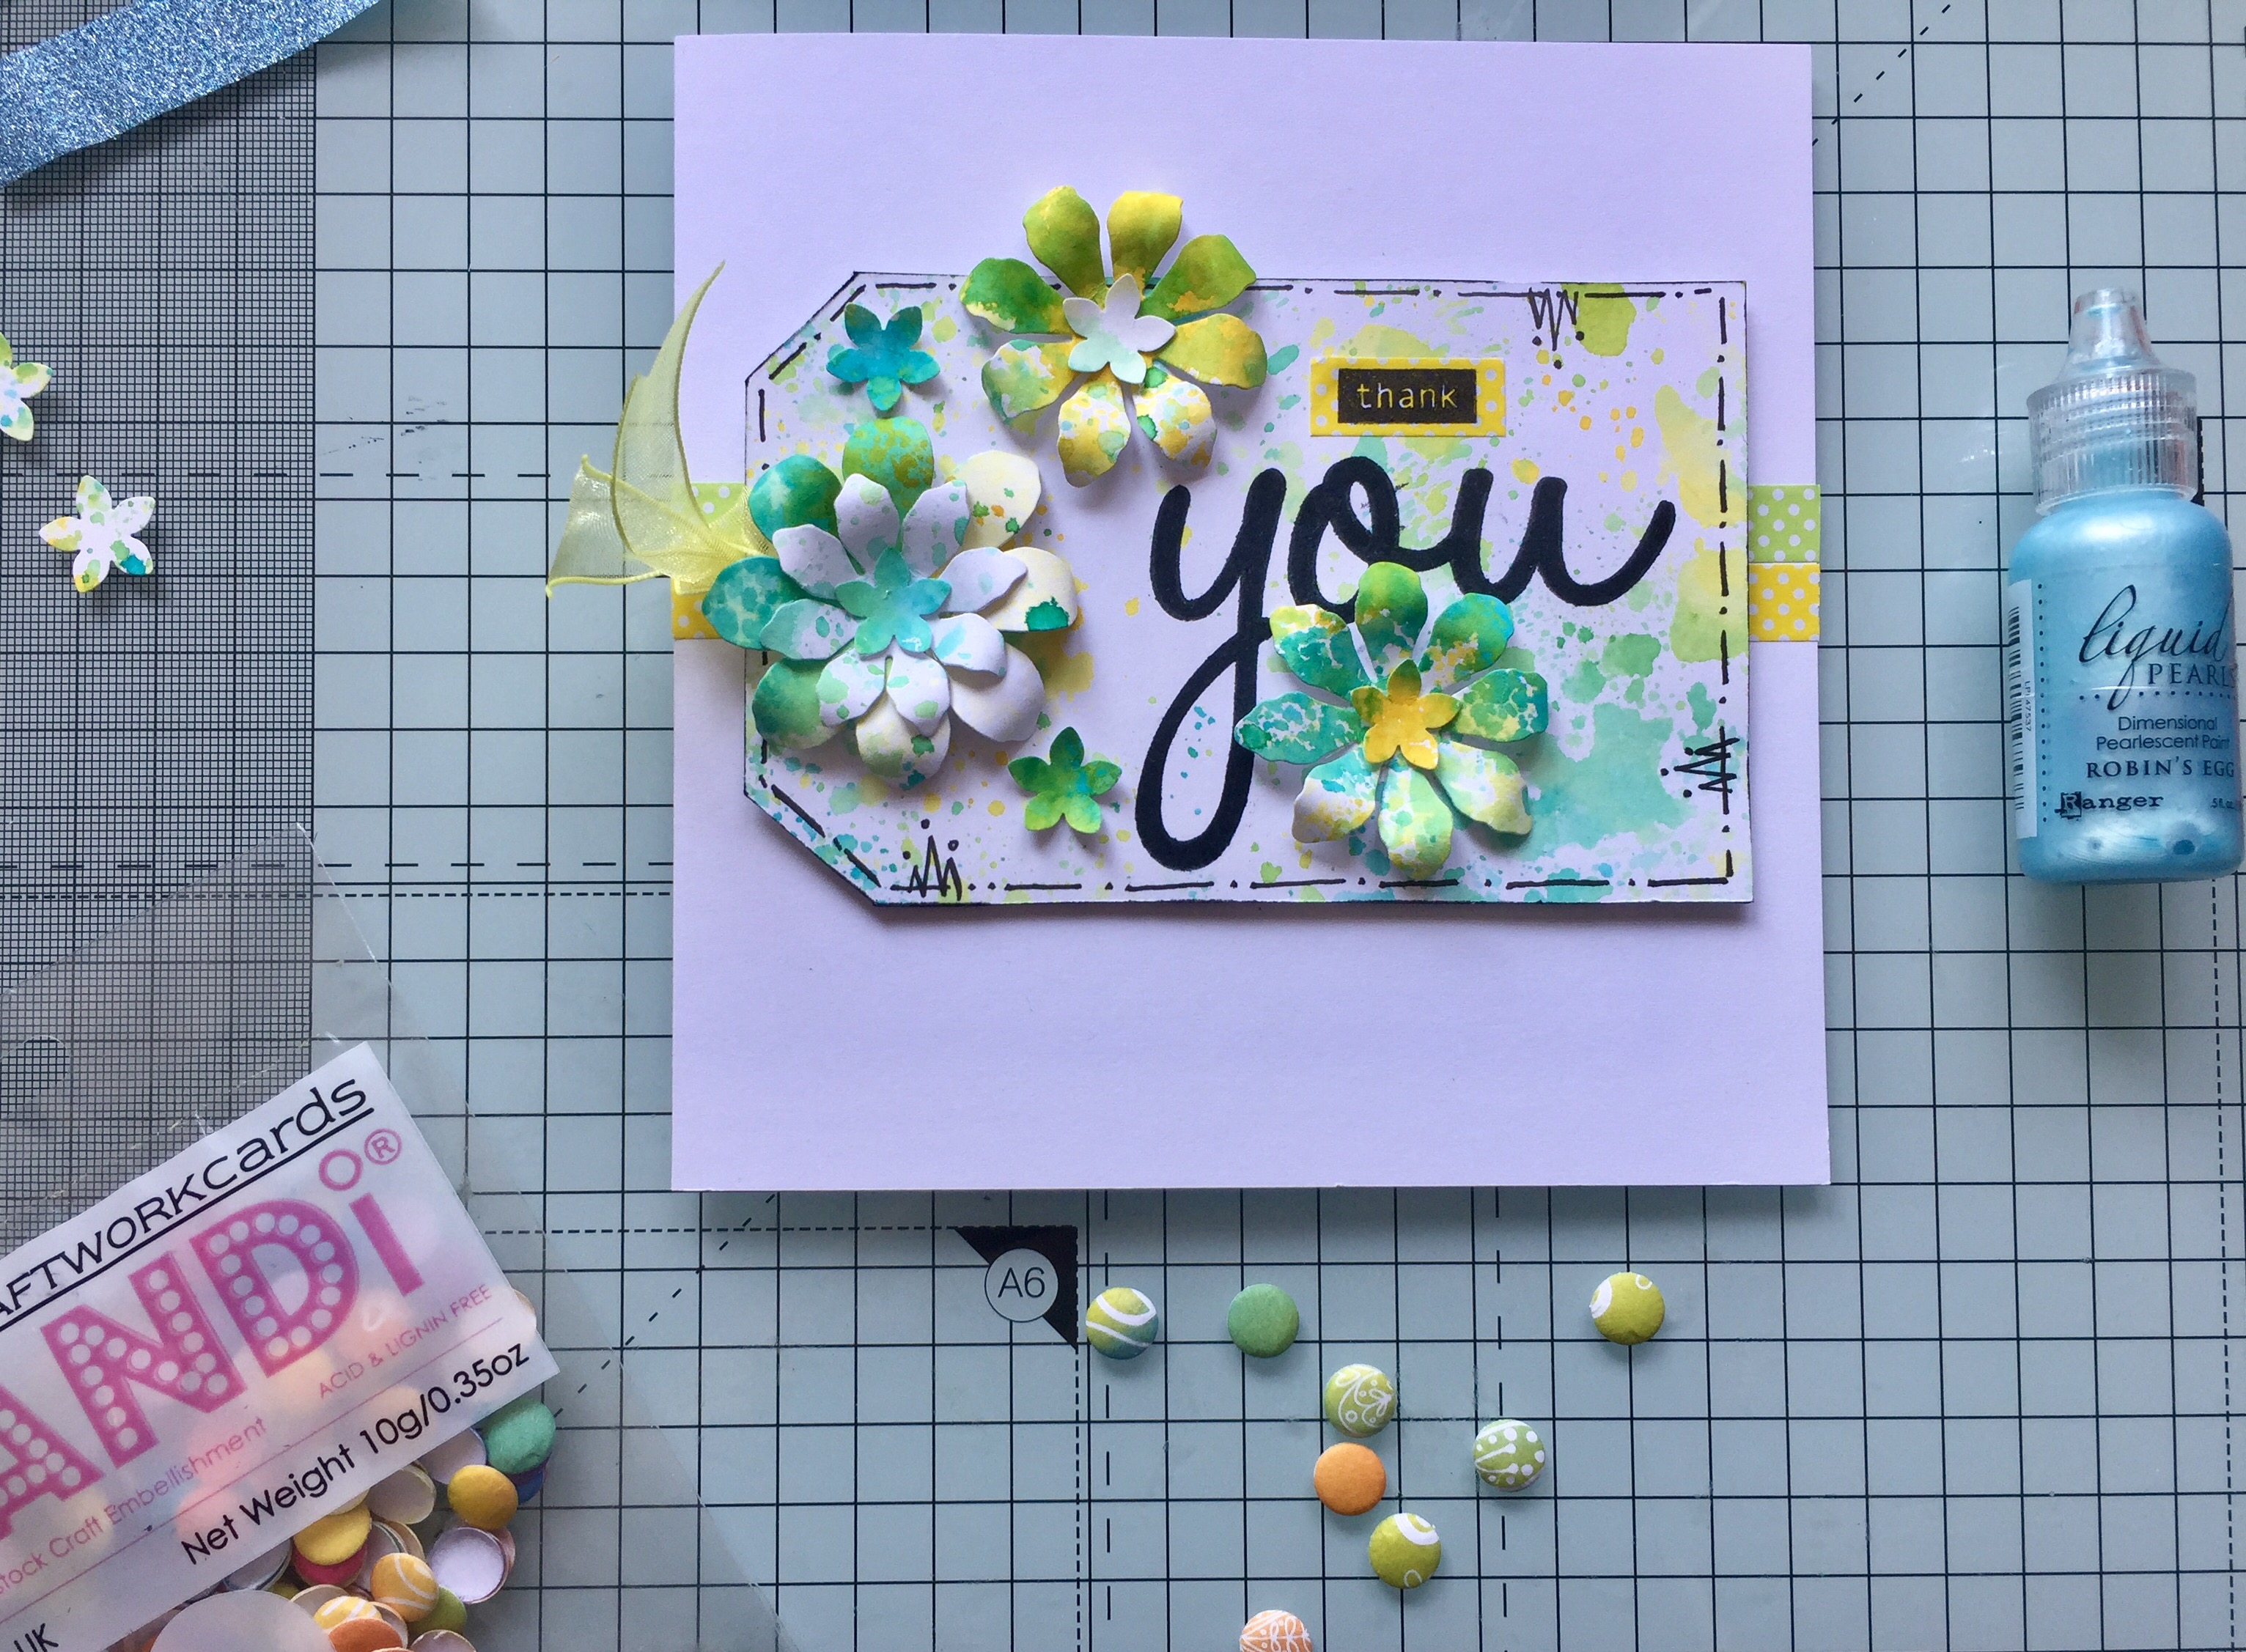
Lastly I compose my card and add a few pearl drops here and there 


So here is card number 1 


And here is card number 2 


I’ll show you the cards I make with the other colour combinations another time. 

Much love x Elisabeth x 

#inspired

Morning All 

I was lucky enough to watch Julie Hickey in action on Facebook Live. She was using a polythene bag, some Distress inks, black ink for stamping, stamps (obviously), water in a spritzer and some smooth printer paper.  She made the most beautiful cards which made me think I can do this. So I did! 

If you want to watch the original video. Here is the link :

Use these papers now to create your own tags, flowers and shapes from dies and paper punches. 


Now you’re ready to create individual cards 

I used one of my favourite stamps on this one ( from the Mulberry tree set). The wording is first and second generation stamping. If you cut out circles you can use them for sentiments. 


On the second card I was much bolder with the stamping because the background colours were more intense.  I love the effect of one single flower within the circle and washi tape is great for stamping sentiments onto.


To lift the flower design on this card I re stamped the image three times (with the brilliant Tim Holtz stamp platform) and embellished them with teal pearl drops. 


I fancied using the arty HAPPY Stamp from one of the Julie Loves kits. It works well on a landscape tag especially if you outline with a black fine liner and add some matching paper flowers. 


Another landscape tag with a row of bold black leaf stems. The striped leaves are coloured with spectrum noir sparklepens in blue – just to lift the design a little.  Another fab miniature Stamp (the dot) adds a little detail to the design and matches in with the dotty washi tape that I’ve stamped onto. 


Some of the tags were more subtle so I steered clear of bold stamping and used the flowers instead.  It’s amazing to think that this arty look is achieved with drops of water and paper blotting. 

I almost forgot to mention the Candi!  The Rainbow pack makes beautiful flower centres as the colours are so random – a bit like my inking.  I didn’t add sparkle or gloss drops this time as I preferred the Matt finish. 


So there you go, relatively cheap but very creative cards to make.  It gives you the chance to use your inner child when mixing the colours with water, and the stamps allow you to create like an artist. 

Much love x Elisabeth x