Mojo Challenge (set 2)

Hello again.

The mojos proved very popular. This time I used a more feminine set of papers – Violet Tea ( again from Craftwork Cards).

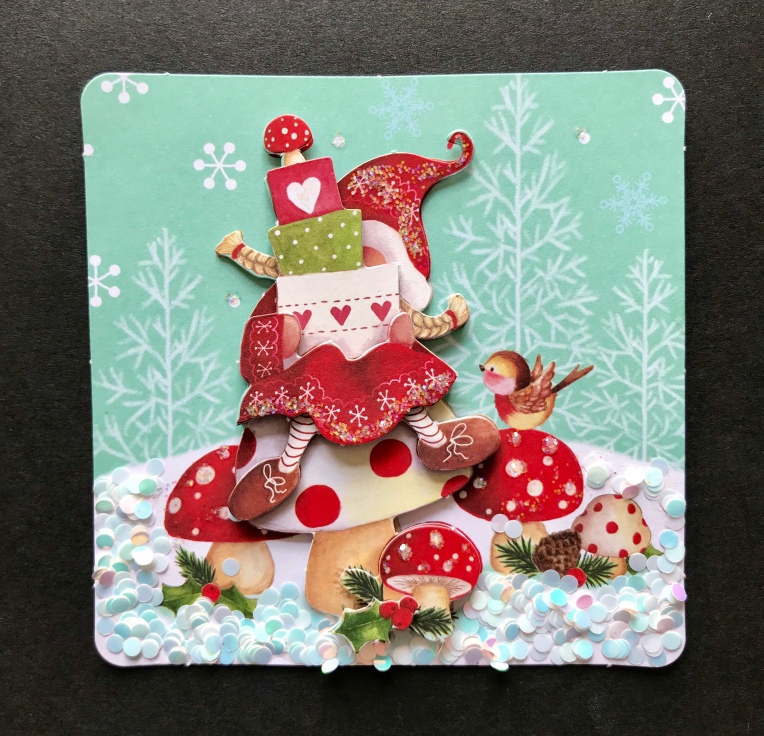
There were so many beautiful cards to choose from but I wanted to point out a few little touches on the following cards.

Firstly. Because I used scraps of paper for this card, I spent ages lining up the pattern. If the lines had not matched up the end result would not have been nearly as pleasing to the eye.

Secondly. There are two shades of ink on the sentiment. It’s another little detail that makes this simple card work.

A background paper does not have to stay there. If you use the designs you are given. You can make your own toppers. I updated the look of this card by using Clarity Stamps. Sentiment strips. They offer such different wording which I really like.

This is another twisted gatefold card. It looks so different to the Take it Easy version in my previous blog post.

You can check out all the mojo cards on our Facebook group – Craftwork Cards Past and Present.

https://www.facebook.com/groups/craftworkcardsfanpage/?ref=share

Much love x Elisabeth x

Mojo Challenge (set 1)

Hello again.

Over five years ago I found a Facebook group called Craftwork Cards Fan Page. It was perfect for me as I really was a great fan of the brand. I have ended up maintaining the group and we now have 4000 members!

https://www.facebook.com/groups/craftworkcardsfanpage/?ref=share

We have recently introduced a great set of mojos. I thought I would share a set of cards which I made using the Craftwork Cards classic collection. Take it Easy.

This set covered 9 weeks. I try to develop the skill of the card as we go along.

Here are a few closeups of the folded cards.

The first one is a twisted gatefold card – completed with a paper rosette.

This is another version of a gatefold card. Simple things such as laying the paper horizontally make a card design work. The gold lighthouses {using Sara’s Signature cutting dies} help too.

The lighthouse appeared in this card too. My top tip for making this card sit is to add small magnets to the corners.

This envelope fold card would make a great gift card.

(I adapted this mojo design by cutting away the top of the card. I wanted the yacht to stand tall of the base of the card. Little touches such as inking in a few clouds can make all the difference.

This exercise was a great way of re~using my Craftwork Cards papers and I ended up with some male themed cards which is always a bonus !

Until next time.

Much love x Elisabeth x

It’s Snome Time ❤️

Hello again

Craft Consortium have a brand new partnership with world renown illustrator Helz Cuppleditch. Their debut project together is the whimsical “It’s Snome Time”.

I have had so much fun working with these papers and embellishments. Here is just one of my Design Team Projects.


I thought you would like to see how I put it together. I will add a little shopping list at the end.

Start with one sheet of the decoupage pages.

https://www.craftconsortium.com/product-page/it-s-snome-time-3d-decoupage-topper-set

The elements are all die cut and numbered. Simply push them out and layer them onto the main topper. I used sticky pads but glue is fine.

Once you have layered all the elements it will look something like this.

Add your preferred sparkles.

Create a bow for decoration. Thread an extra ribbon through the gorgeous silver embellishments.

https://www.craftconsortium.com/product-page/it-s-snome-time-toad-stools-metal-charms

Prepare your box frame by removing the back and checking there that it is spotlessly clean.

Add your preferred fake snow.

Carefully lay the topper in the frame and replace the back.

Then add your ribbons and embellishments.

https://www.craftconsortium.com/product-page/it-s-snome-time-adhesive-enamel-dots

I made four individual frames which can be gifted individually or arranged as a four to make one large Christmas picture.

Until next time

Much love x Elisabeth x

Shopping list for one Snome Time Photo Box Frame.

1 x Decoupage sheet

1 x toadstool silver embellishment

3 x Pearl embellishments

Ribbon

1 x shadow box frame 10 cm square

Glitter/ sparkles/ of your choice

https://www.craftconsortium.com/shop

As you can see, they are fabulous designs to work with. If you want further inspiration then head over to the Craft Consortium website. Alternatively find CC on Facebook and Instagram. They also have a brilliant Craft Consortium Network Facebook Group.

https://www.craftconsortium.com/

https://www.facebook.com/search/top/?q=craft%20consortium%20ltd&epa=SEARCH_BOX

https://www.facebook.com/groups/989114164562461/


Getting ready to “Deck the Halls”

Hello again

I created these cards on one of the hottest days of summer: in preparation for The Hobby House shows on Create and Craft, on the 4th August.

“Deck the Halls” is a collection of traditional and contemporary designs.

I began by taking one of the beautiful A5 toppers, a piece of the antique gold ( which I die cut) and a sentiment and layered them up together.

The card stock is excellent for die cutting – even the most intricate dies.

These hellebores or Christmas roses make the most beautiful toppers.

This is a classic Hobby House card because everything co-ordinates perfectly.

The square cards make lovely backgrounds and are easily matched with the circular toppers and ribbons.

This collection also show cased the versatile gold embellishments. I couldn’t decide which ones were my favourites.

The card-stock is of such a high standard you can easily construct a z-fold card.

I hope these cards inspired you – particularly if you have bought “Deck the Halls”. Don’t forget to share your makes with me at Elisabeth Hogarth Designs.

Until next time

Much love x Elisabeth x